
How to Size a Ring Finger at Home the Right Way
- Luke Zucco
- Oct 31, 2025
- 10 min read

Finding your ring size at home is actually pretty simple with the right technique. The two most reliable methods just require a couple of things you probably already have lying around: a non-stretchy string or a thin strip of paper, or a ring that already fits you perfectly.
Both are great ways to get an accurate measurement without a trip to the jeweler.
Your Quick Guide to an Accurate At-Home Measurement
Figuring out how to size a ring finger at home can feel like a guessing game, but it doesn’t have to be. The key is picking the right method for your situation and paying attention to the small details that make a huge difference in comfort and fit.
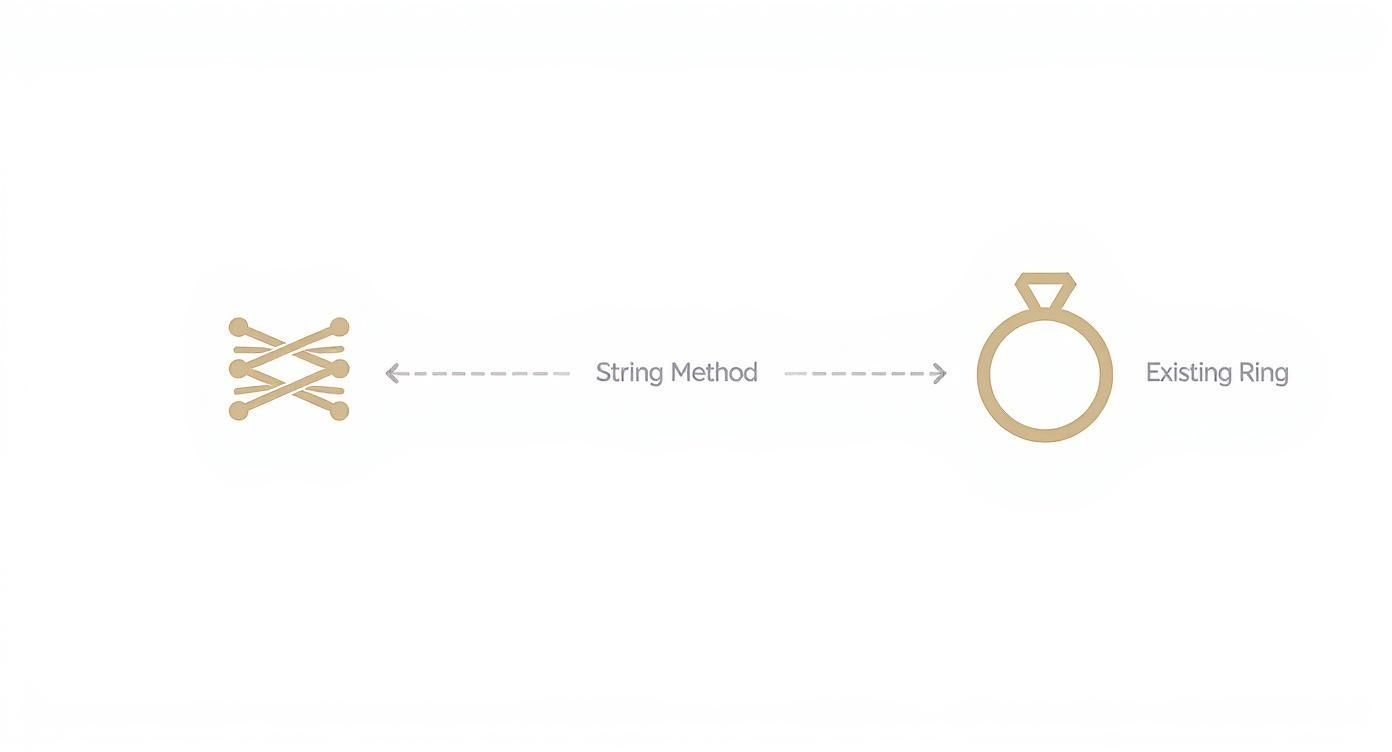
There are two main DIY approaches that I always recommend for at-home sizing:
The String or Paper Method: This is where you wrap a non-stretchy material around the base of your finger to measure its circumference.
The Existing Ring Method: This technique uses a ring that already fits you well as a benchmark, letting you measure its internal diameter.
Choosing Your Best Approach
Each method has its moments. The string method is fantastic if you don’t have a perfectly fitting ring on hand. The catch? You have to be careful not to pull the material too tight, which can stretch it and throw off your measurement.
Measuring a ring you already own is often more straightforward, but it really only works if that ring has a similar band width to the one you’re planning to buy. A wide band fits more snugly than a delicate one.
A common mistake I see is people using stretchy materials like yarn or a rubber band. These can easily stretch when you wrap them, resulting in a ring size that’s way too small. Always grab something firm—dental floss, a strip of printer paper, or even a twist tie will do the trick.
Before you start measuring, it helps to know which method will work best for you. Here's a quick breakdown to help you decide.
Comparing At-Home Ring Sizing Methods
This table should help you choose the best DIY ring sizing method for your needs.
Method | Pros | Cons |
|---|---|---|
String or Paper Method | Great if you don't own a ring in the right size. Requires only common household items. | Higher risk of error if the material stretches or isn't marked correctly. Can be tricky to get the tightness just right. |
Existing Ring Method | Highly accurate if you have a perfectly fitting ring. Quick and easy to do. | Only works if you have a ring with a similar band width. The ring must be a simple, round band for an accurate diameter reading. |
Ultimately, both methods can give you a solid measurement if you're patient and precise.
For a more in-depth guide on getting it just right, this article on how to measure ring size accurately at home is a fantastic resource. Understanding these little nuances is the first step toward finding a ring that feels like it was made just for you.
Mastering the String and Paper Method
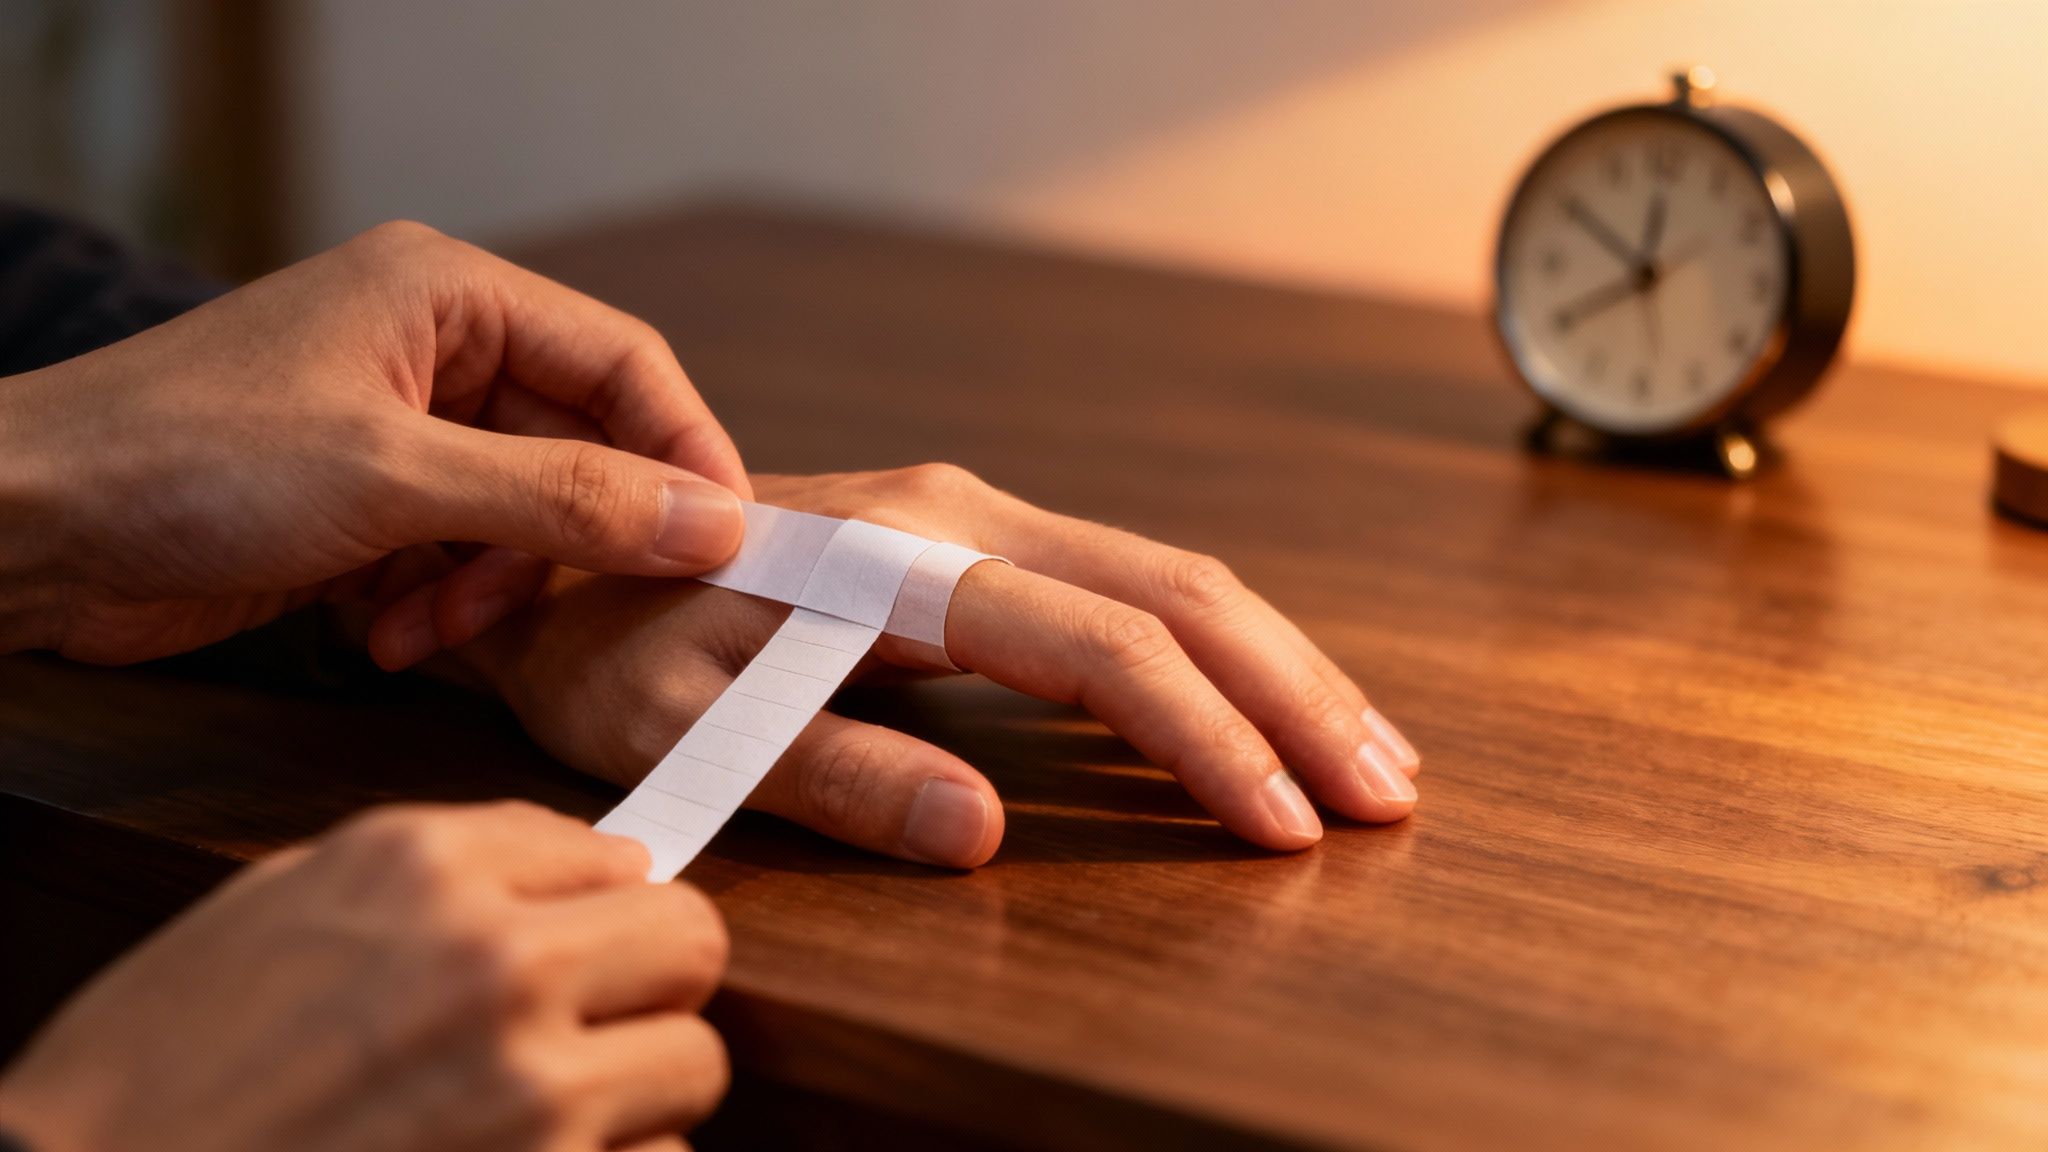
This is a classic for a reason—it’s the go-to if you don’t have another ring to use for sizing. But for this to work, you have to be precise, and that starts with your tools. Grab a piece of non-stretchy string, some dental floss, or a thin strip of paper about a half-inch wide.
Wrap your chosen material around the base of your finger. You want it to be snug but not uncomfortably tight—it should feel just like a real ring would. The goal is a fit that slides over your knuckle but won't just fall off.
Using a fine-tip pen, mark the exact spot where the material overlaps to make a complete circle. This mark is everything, so make it clear.
This infographic breaks down the process visually, showing the key steps for both this method and one using an existing ring.
As you can see, a crisp marking point and an accurate measurement against a ruler are what make this whole thing work.
Getting the Measurement Right
Once you've marked it, lay your string or paper strip flat against a ruler—one with millimeter markings is best. Measure the length from the end of the material right up to the mark you made. This number is your finger's circumference.
Here's a pro tip I always share: measure your knuckle, too. If it's noticeably larger than the base of your finger, take that measurement as well. Then, choose a size that falls somewhere between the two. This is the secret to getting a ring that will actually slide on without a fight.
This simple technique is grounded in history, long before we had fancy professional tools. Modern sizing systems are all built on these same basic principles of circumference. For instance, the British system was updated in 1987, standardizing each alphabetical size to represent a 1.25 mm jump in length. You can read more about the evolution of standardized ring sizing to see how these measurements came to be.
Remember: Consistency is your best friend here. Measure your finger three or four different times to make sure your reading is reliable. If you get slightly different numbers, just take the average to smooth out any minor variations.
Using an Existing Ring for a Perfect Match
Got a ring that already fits the right finger perfectly? If so, you've got the most reliable sizing tool right in your jewelry box. This method beats wrapping a string around your finger any day, giving you a real-world measurement to work from and taking the guesswork out of the equation.
One quick tip from experience: try to use a ring with a similar band width to the one you're eyeing. A wide, chunky band will always feel more snug than a thin, delicate one, even if they have the same internal diameter. Using a ring with a comparable style is key to getting the most accurate size.
Finding Your Size with a Printable Chart
One of the simplest ways to use your existing ring is with a printable, true-to-scale sizing chart. You just print it out, lay your ring over the circles, and find the one that lines up perfectly with the inside edge of your band. The black outline of the circle should be just barely visible all the way around inside your ring.
To make sure the chart is accurate, a couple of things are crucial when printing:
Check Your Print Settings: Before you hit print, make sure the scale is set to 100% or "Actual Size." Any other setting, like "Fit to Page," will stretch or shrink the chart and throw off your measurement.
Verify with a Ruler: Most good charts have a small ruler printed on them. Grab a real ruler or even a credit card and hold it up to the printed one to confirm it printed at the correct scale.
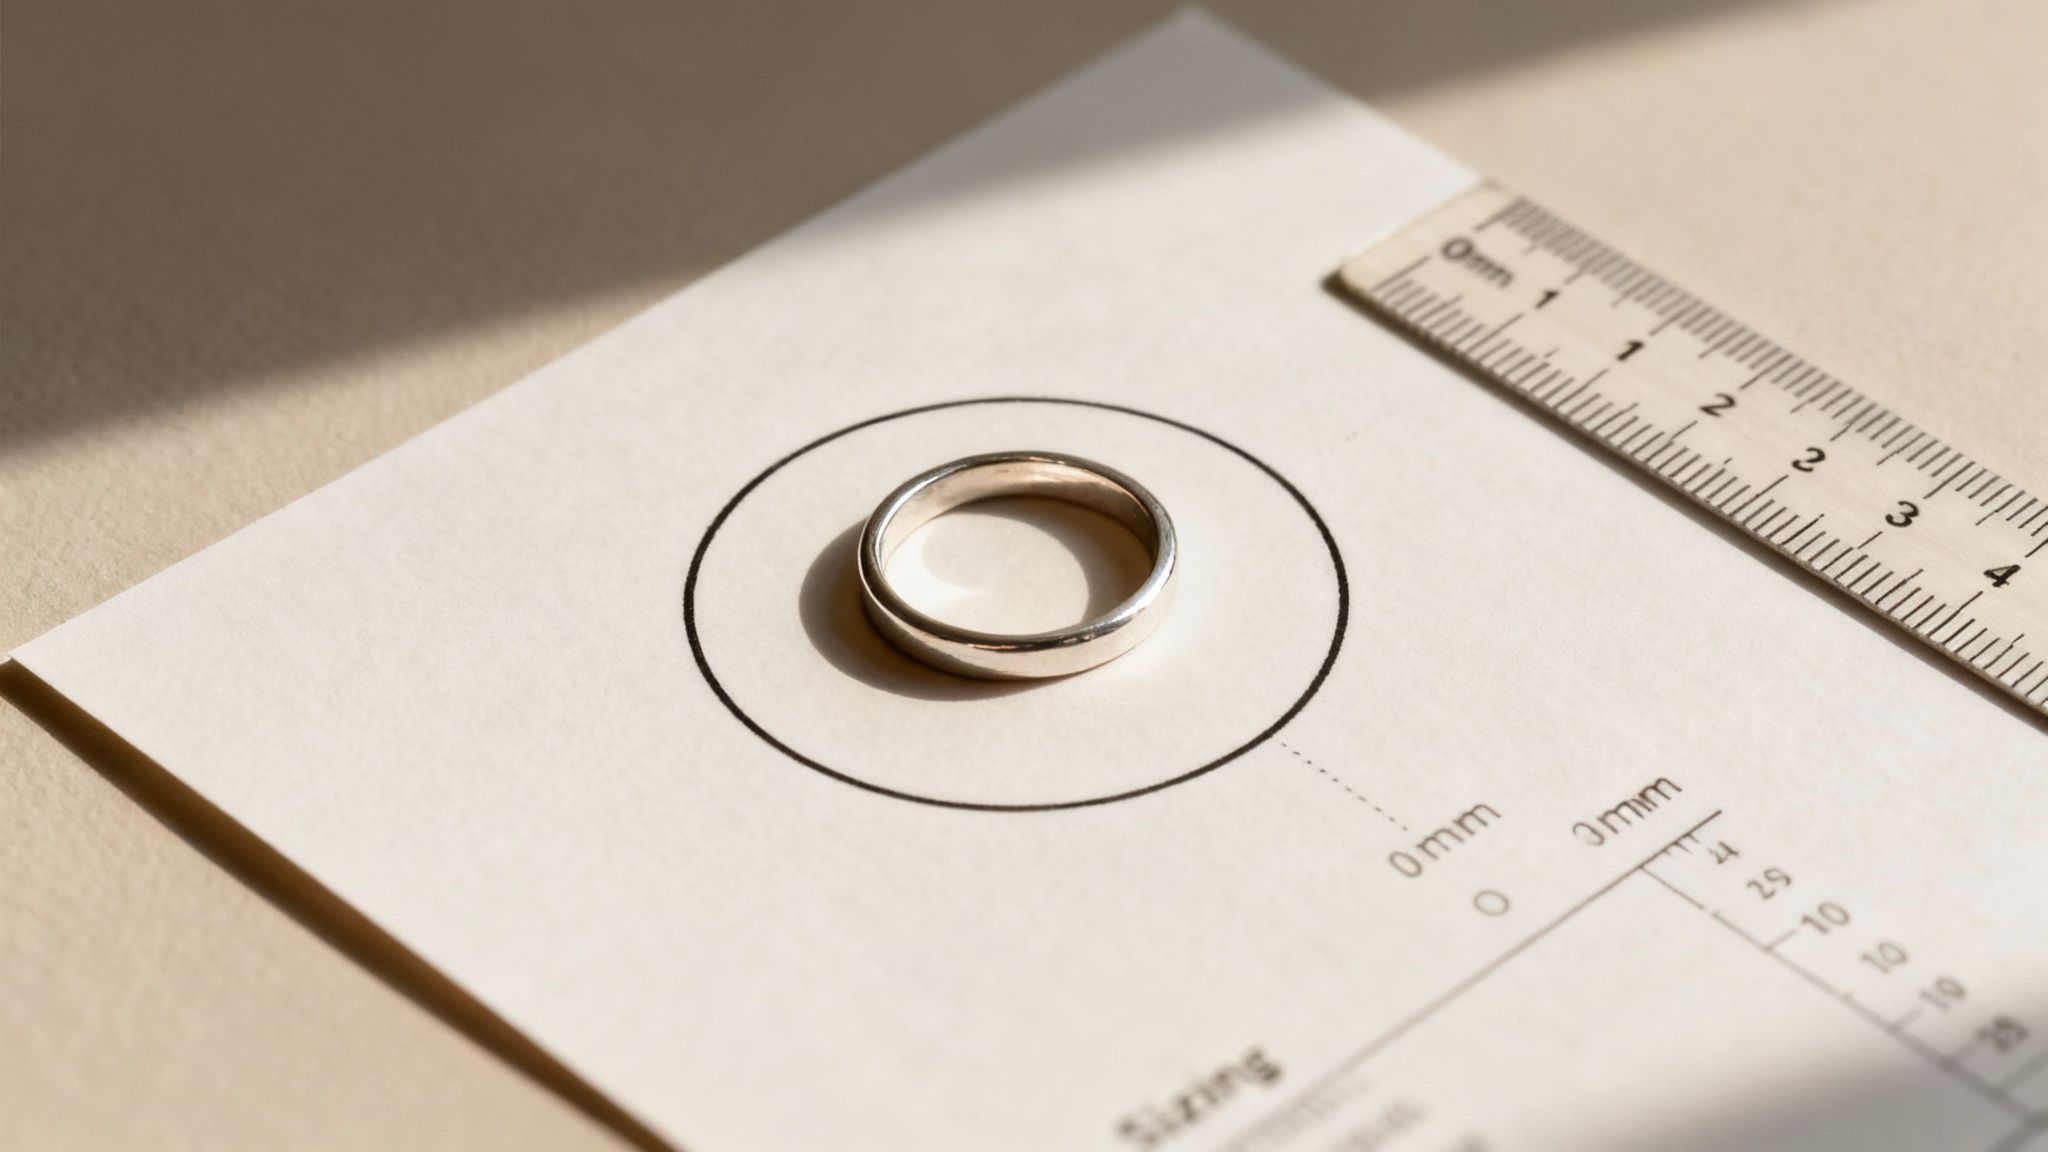
The Ruler and Diameter Method
No printer? No problem. A standard ruler will work just as well.
Lay your ring on a flat surface and use a ruler with millimeter markings to measure its internal diameter. You’ll want to measure straight across the very center, from one inside edge to the other.
It's so important to measure only the space inside the ring, not the metal of the band itself. A difference of just half a millimeter can bump you up or down a full ring size, so precision is everything here.
Once you have that measurement in millimeters, you can easily look up an online ring size conversion chart to find your match.
Just a heads-up: if your ring is bent out of shape or damaged, it's best not to use this method. A compromised shape will give you a wonky measurement. Understanding the inside the jewelry resizing process also shows why getting that initial size right is so vital for the ring’s future.
When and How to Measure for the Best Fit
Timing is everything when you’re trying to size a ring finger at home. Your fingers can swell and shrink throughout the day thanks to things like temperature, what you've eaten, and how active you’ve been. If you measure at the wrong moment, you can end up with a size that’s either uncomfortably tight or frustratingly loose.
The goal is to find your finger’s most stable, "average" size. This sweet spot usually happens later in the day, once your body temperature has settled and you've retained a normal amount of water.
I always suggest measuring in the evening. In the morning, your fingers are often smaller from a night of rest. By the end of the day, they've naturally expanded to their typical size, giving you a much more reliable measurement for all-day comfort.
Ideal Conditions for a Perfect Measurement
There are definitely times you shouldn't measure your finger. Avoid sizing right after a hot shower, a salty meal, or an intense workout, since all of these can cause temporary swelling and give you a false reading. On the flip side, your fingers will be smaller when you’re cold, so don't measure then either.
For the most accurate result, try to check these boxes first:
Time of Day: Aim for late afternoon or evening.
Body Temperature: Make sure you're at a comfortable, normal body temperature—not freezing or sweating.
Recent Activity: It's best to wait at least an hour after exercising or drinking alcohol.
Repeat for Accuracy: This is a big one. Measure 3-4 times on different days to see if you get a consistent size.
This careful approach helps you nail down a size that feels just right, no matter what your hands are doing. And if you do end up with a ring that isn't quite perfect, don't worry. Our guide on how to get a ring resized walks you through the entire process, making any adjustments super simple.
Decoding Ring Size Charts and International Conversions
Alright, you've got your measurement in millimeters. Now what? The next step is turning that number into an actual ring size, and this is where a lot of people get tripped up.
Here’s the thing: ring sizing isn't universal. A “size 7” in the United States means something completely different in Japan or the UK. It's a common mistake to assume they all follow the same system, but that can lead to a ring that's painfully tight or ready to fly off your finger.
Making Sense of Different Sizing Systems
So, why the confusion? It all comes down to how different countries translate a ring's inner circumference into a size. The US and Canada, for instance, use a straightforward numerical system. But head over to the UK, Australia, or Ireland, and you’ll find they use letters instead. A US size 7, which corresponds to a circumference of roughly 54.4 mm, is a size N in the UK.
Trying to memorize these conversions is a recipe for a headache. That’s why a reliable international conversion chart is your best friend in this process.
Statistically, the average ring size for women in places like the US and UK is between a 6 and 7 (or L to N in the UK), while men typically fall between a 9 and 11. Knowing this can give you a bit of context. If you measure in between two sizes, these averages can help you make a more educated guess.
A pro tip I always share: if you’re stuck between two sizes, think about the ring’s design. A wider band—anything over 6 mm—takes up more space on your finger and will feel much tighter. In those cases, I almost always recommend going up to the next half-size for a more comfortable fit.
Your Quick Conversion Guide
To make things easier, here’s a simplified chart that translates your millimeter measurement into the most common sizing systems. While it’s always best to double-check with the specific jeweler you’re buying from, this table gives you a fantastic starting point.
Circumference (mm) | US / Canada Size | UK / Australia Size |
|---|---|---|
49.3 | 5 | J 1/2 |
51.9 | 6 | L 1/2 |
54.4 | 7 | N 1/2 |
57.0 | 8 | P 1/2 |
59.5 | 9 | R 1/2 |
62.1 | 10 | T 1/2 |
64.6 | 11 | V 1/2 |
67.2 | 12 | X 1/2 |
This chart covers the basics, but if you're dealing with sizes from other parts of the world, things can get even more complex. For a deeper dive, our global guide to convert ring size breaks down a wider range of international standards to ensure you find your perfect fit, no matter where your ring is from.
Common Questions About Sizing at Home
Even with the best at-home methods, a few questions always seem to pop up. Let’s clear up the common hurdles so you can choose your size with total confidence. After all, getting the fit right is just as important as finding a style you love.
One of the biggest head-scratchers is dealing with knuckles that are wider than the base of the finger. If that sounds familiar, you're not alone. The trick is to measure both your knuckle and where the ring will sit. Your perfect size will be somewhere in between—snug enough to clear the knuckle but not so loose that it spins around once it’s on.
How Band Width Changes Everything
The width of a ring makes a huge difference in how it fits. A wider band, anything 6mm or more, covers more of your finger, creating more friction and a much tighter feel.
For those bold, substantial styles, it's a good rule of thumb to go up at least a half-size from what you measured. On the flip side, if you're eyeing a very thin, delicate band, your measured size is usually spot-on.
If you’re ever stuck between two sizes, it's almost always smarter to go slightly bigger. A ring that’s too tight is not just uncomfortable—it can also be a more complex job for a jeweler to size up. A slightly loose ring, however, is typically a simple and inexpensive fix.
The material of a ring also contributes to its unique look and feel. If you're curious about different metal options, you can explore beautiful 18k rose gold jewelry to get a better sense of popular choices.
When to Call in a Pro
While DIY sizing is incredibly handy, sometimes you just need an expert. If you’re about to buy a final-sale piece or a complex design that can’t be easily resized, it’s worth visiting a local jeweler.
They have calibrated, professional tools that guarantee the highest level of accuracy. It’s a small step that provides complete peace of mind, especially before you invest in something truly special.
At Panther De Luxe Shop, we offer a stunning collection of rings for every style. Explore our designs and find your perfect fit today at https://www.pantherdeluxe.com.
Comments