
How to Get Knots Out of Necklaces Fast
- Luke Zucco
- Jul 20, 2025
- 10 min read

It’s a familiar, sinking feeling: you reach for your favorite necklace, only to find it in a hopelessly tangled knot. But don't despair. The secret to how to get knots out of necklaces isn't brute force; it's a little bit of finesse, a touch of lubricant, and two sharp points.
Seriously, that's it. A drop of oil and a couple of pins are usually all you need to gently persuade those links to go their separate ways.
Your Quick Guide to Untangling Necklaces
Before you even think about pulling at that knot, let's talk about setting yourself up for success. Having the right tools on hand transforms this from a frustrating chore into a manageable task. The whole idea is to get the chain links to glide past each other, not to yank them apart. This approach is crucial for protecting delicate chains from stretching or snapping.
Patience is probably your most valuable asset here, but the right equipment runs a close second. For example, you wouldn't use the same technique on a whisper-thin gold chain as you would on a sturdier silver one. Matching your tools to the job prevents costly mistakes and keeps your jewelry looking its best.
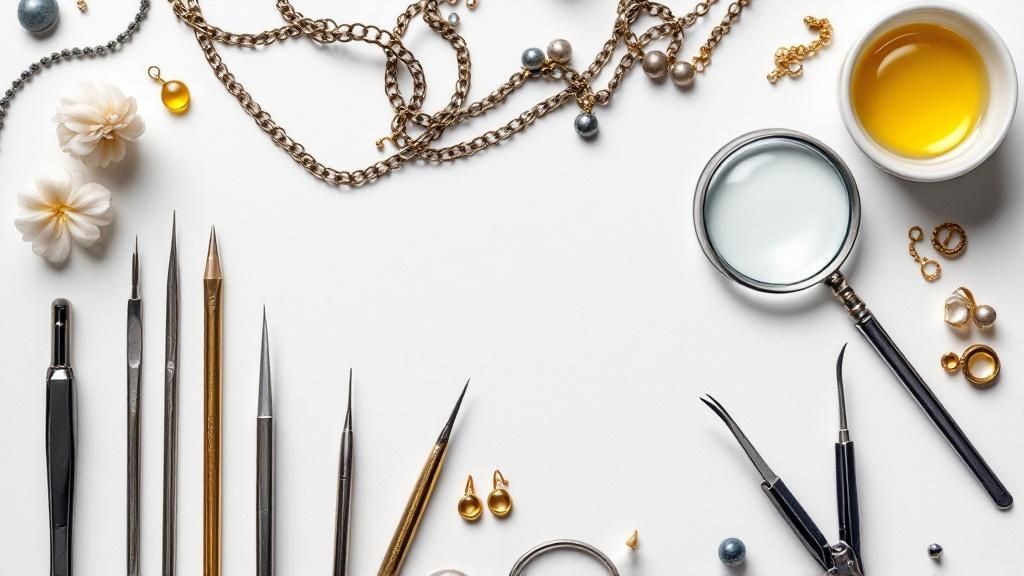
Essential Tools for Untangling Necklace Knots
I've put together a quick reference table with my go-to tools. Think of this as your first-aid kit for tangled jewelry. Having these simple items ready can save you a lot of grief.
Essential Tools for Untangling Necklace Knots
Tool/Lubricant | Best For | Pro Tip |
|---|---|---|
Sewing Pins/Needles | Extremely fine chains (gold, silver) | The sharp points are perfect for getting right into the heart of the tiniest, most stubborn knots. |
Fine-Tipped Tweezers | Medium-sized chains and starter knots | Great for getting that initial grip to create a little bit of space in the main tangle. |
Baby Oil/Mineral Oil | Most metal types | This is my universal pick. It's a gentle, effective lubricant that helps links slide free with minimal mess. |
Jewelry Detangler Solution | Delicate, antique, or valuable pieces | If you're working with something precious, use a solution made specifically for the job. It's formulated to be safe on metals and gemstones. |
Choosing the right tool for the chain is everything. A little bit of care goes a long way in preserving your pieces.
With delicate, layered necklaces being more popular than ever, knowing how to handle a tangle is a skill every jewelry owner needs. It's no surprise when you see the global necklace market is expected to reach an incredible $75.85 billion by 2032, according to market analysis from Fortune Business Insights. This just shows how many of us are wearing—and untangling—these beautiful accessories.
For a complete, step-by-step walkthrough, be sure to check out our full guide on the best way to untangle a necklace without damage.
Setting Up Your Workspace to Prevent Damage
Before you even think about tackling that knot, take a minute to set the stage. I’ve seen it a hundred times—someone trying to untangle a delicate chain on their lap or a cluttered table. It almost always ends in frustration, a tighter knot, or even a broken necklace. The secret to getting this done right is all in the preparation.
First things first, find a smooth, flat surface. Lay down a sheet of plain white paper or, even better, a light-colored jewelry tray. This simple trick creates a high-contrast background that makes every tiny link of a gold or silver chain pop. You really can't fix what you can't see.
Good lighting is just as crucial. Working in a dimly lit room is a recipe for disaster. You need a direct light source, like a flexible desk lamp you can point right at the knot, or a spot next to a bright window. This will get rid of any shadows hiding inside the tangle, giving you a clear view of exactly where to work.
Key Takeaway: The very first move you should make is to unhook the clasp. Trying to untangle a necklace that's still a closed loop is exponentially harder and adds a ton of unnecessary tension to the chain right from the get-go.
Your Essential Setup Checklist
Once your surface and lighting are sorted, it's time to gather your tools. Having everything you need within arm's reach means you won't have to get up and risk the chain shifting or tightening up again.
Here’s what your ideal untangling station should look like:
A Solid, Contrasting Surface: A white piece of paper is good; a light-colored tray is great.
Bright, Direct Lighting: A desk lamp is perfect for aiming light exactly where you need it.
Your Untangling Tools: Have your pins, needles, or tweezers laid out and ready.
A Small Dish for Lubricant: If you're using oil, pour a tiny amount into a small bowl or dish. This prevents messy spills directly on your necklace.
Taking these few simple steps can turn a headache of a task into a totally manageable one. It’s the foundational step for learning how to get knots out of necklaces without causing any damage.
The Lubrication and Teasing Method
When you’re staring at a hopelessly tangled necklace, your biggest foe isn't the knot itself—it's friction. Every tiny link is stubbornly gripping the ones around it, and any pulling just makes the whole mess worse. This is exactly why the lubrication and teasing method is my go-to technique; it's a classic for a reason.
The logic is simple. You introduce a lubricant to make the chain links slick and slippery. Instead of fighting each other, they start to glide. Suddenly, that impossible tangle starts to look like a puzzle you can actually solve.
To get started, you'll need a couple of things. Grab a lubricant—a bit of baby oil, mineral oil, or even a drop of olive oil from the kitchen will do nicely. You'll also need a pair of fine-tipped tools. I usually reach for sewing needles, but safety pins or a good pair of sharp tweezers work just as well.
The image here perfectly captures the gentle wiggling motion you're aiming for.
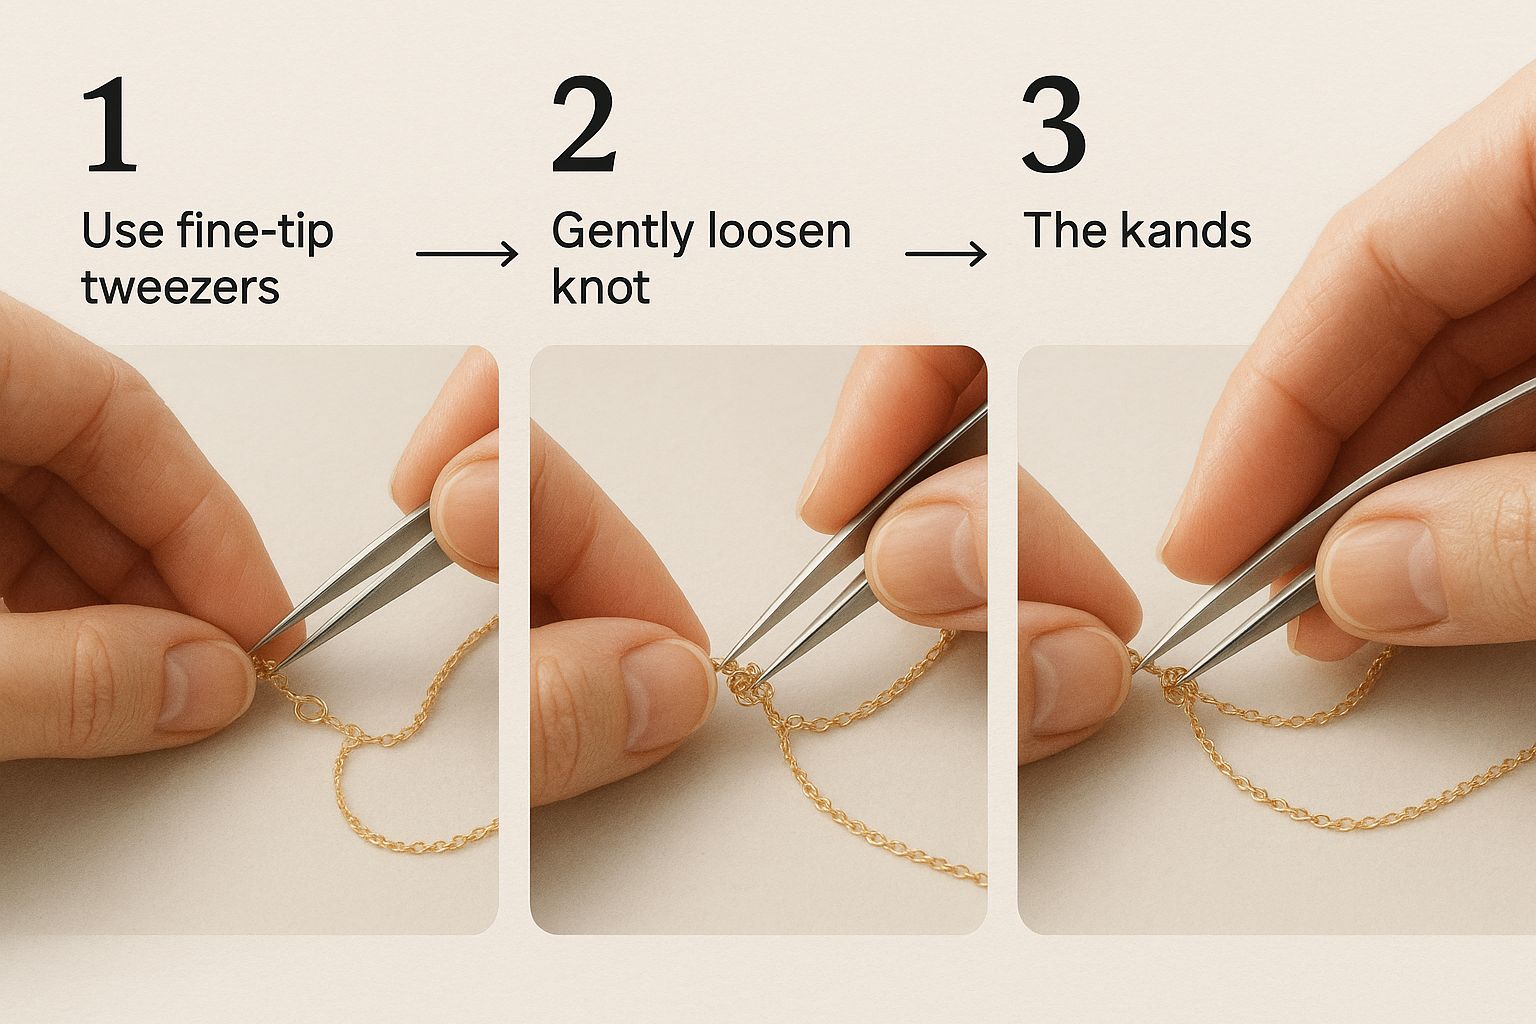
As you can see, the idea is to create space by working on the outer loops first, not to force the knot apart.
Applying the Lubricant
Be precise. This isn't the time to douse your entire necklace in oil. Just dip the tip of a cotton swab or a clean cloth into a small amount of your lubricant.
Carefully dab the oil directly onto the knot. You want to saturate the tangled part of the chain, not the whole piece. Gently work it in with the swab to make sure the oil gets deep into the tightest sections. You should feel the knot start to relax almost instantly as the friction gives way.
Expert Tip: The real magic happens when the lubricant gets inside the knot. After applying the oil, give the chain a little wiggle. This helps the oil seep into the very core of the tangle, right where you need it most.
The Art of Teasing the Knot Apart
Now, pick up your two sharp-pointed tools, holding one in each hand. The most important rule here is to avoid pulling. Your goal is to gently tease and wiggle the links free.
Find the loosest part of the tangle, which is usually somewhere on the outer edge. Insert the tips of your pins or tweezers into a loop and gently wiggle them apart. This will create a tiny bit of slack. Once you have a small opening, use it as your starting point to slowly expand the space.
Patience is key. You're essentially deconstructing the knot, one loop at a time. Wiggle a loop open, then find the next one you can loosen. Continue this gentle motion, working from the outside of the knot toward its center. This careful, methodical approach prevents the kind of damage that can happen from yanking on a delicate chain.
This small bit of maintenance has become more important than ever. With the global jewelry market estimated at USD 366.79 billion in 2024, every piece holds value, and knowing how to care for it properly is essential. You can learn more about jewelry market trends from this in-depth report by Grand View Research.
Dealing with Stubborn Knots and Special Chains
We've all been there. You have a knot that just won't give up. It’s either impossibly tight, microscopic, or wrapped up in a delicate chain that you're terrified of breaking. When the usual oil-and-pin trick fails, you need to pull out the advanced techniques—the kind of stuff jewelers rely on for the most nightmarish tangles.
If you’re squinting at a tiny knot on a super-fine chain, your biggest problem isn't the knot itself; it's seeing it. I always recommend grabbing a magnifying glass. Even the zoom on your phone's camera can be a game-changer. Once you can actually see the individual links up close, that impossible knot suddenly becomes a solvable puzzle. You can pinpoint exactly which loop needs to be coaxed open.
How to Handle Unique Chain Materials
Not every necklace is made of simple metal links. Different materials have their own quirks and require a gentle, specific approach to avoid damage.
Beaded Necklaces: These are a special kind of headache. Pull too hard, and you'll have beads scattering across the floor. Instead of using sharp pins that can fray the string, try using your fingers. After lubricating the knot, gently roll it back and forth. This subtle motion often shifts the beads just enough to create the space you need, without putting dangerous stress on the cord.
Snake and Herringbone Chains: These flat, sleek chains don't really "knot" in the traditional sense—they kink. A kink is a sharp, permanent bend that you can't just tease out. If you see one starting to form, your best bet is to immediately lay the chain flat and gently roll the problem spot under your finger to straighten it. Never, ever fold or pull on a snake chain.
My Go-To Trick: For a knot that absolutely refuses to budge, I use vibration. Place the lubricated knot on a hard surface that vibrates, like the top of a running washing machine or even the handle of an electric toothbrush. The constant, gentle jiggling can sometimes work the links loose on its own.
With the beaded jewelry market valued at an estimated $5.89 billion in 2023, it’s clear that more and more of us are dealing with these specific kinds of tangles. Their flexible strings are just naturally prone to knotting, which makes knowing these specialized solutions so important. You can dig deeper into this trend in this beaded jewelry market report.
Once you've finally freed your necklace, a good cleaning is the next crucial step. To keep it looking its best, check out our guide on how to prevent jewelry from tarnishing.
What To Do After the Knot Is Gone: Cleaning and Prevention

Finally getting that knot out is a fantastic feeling, isn't it? But before you celebrate, there's one last crucial step. If you used any kind of oil or lubricant, you’ll have a sticky residue left on your chain that can attract all sorts of dust and dirt. Let's give it a proper clean.
It’s simple. Just mix a few drops of mild dish soap into a small bowl of warm water. Let your necklace soak for about a minute, then gently scrub it with a super-soft toothbrush or a microfiber cloth. If you're working with something specific like sterling silver, you'll want to check out some specialized advice. You can find more on [how to clean silver at home with easy, safe tips](https://www.pantherdeluxe.com/post/how-to-clean-silver-at-home-easy-safe-tips).
After its bath, rinse the necklace under cool, running water. And this part is key: pat it completely dry with a soft, lint-free cloth. Any lingering moisture can cause tarnish or water spots, which is the last thing you want after all that effort.
How to Stop Knots From Happening in the First Place
Honestly, the best way to deal with tangled necklaces is to prevent them from ever happening. A few small tweaks to your storage habits will save you so much frustration down the road. It’s a classic case of an ounce of prevention being worth a pound of cure.
Here are a few of my go-to methods:
Hang them vertically. A jewelry tree or even a few small, decorative hooks on a wall are perfect. Gravity becomes your best friend, keeping each chain straight and separate.
Give them their own space. If you prefer a jewelry box, store each necklace in its own soft pouch. This creates a simple barrier that stops chains from getting tangled up with their neighbors.
Master the straw trick. This is a game-changer for travel. Just thread the chain through a standard drinking straw and clasp it shut. The straw acts as a splint, keeping your necklace perfectly straight and tangle-free in your luggage.
Adopting one of these habits is the single most effective way to prevent future knots. A few seconds of proper storage saves you from a 15-minute detangling session later.
Your Necklace Untangling Questions, Answered
Even with a solid game plan, it's natural to have a few questions, especially when you're working on a piece of jewelry you love. Getting it wrong can feel disastrous, so let's clear up some of the most common things people ask.
Can I Just Use Windex or Another Household Cleaner?
It's a common thought—if it works on glass, why not here? But please, step away from the Windex. The ammonia and other harsh chemicals in most household cleaners are a serious threat to your jewelry.
They can easily tarnish metals, strip away delicate plating, and cause permanent damage to porous gemstones like pearls, opals, or turquoise. It's just not worth the risk. A drop of baby oil or a purpose-made jewelry lubricant is a much safer bet.
When Should I Give Up and See a Jeweler?
Knowing when to call it quits is a skill in itself. The number one rule? Never use force.
If you've given the oil-and-pin method a gentle try and the knot feels rock solid—almost like a tiny, solid bead—it's time to stop. Pushing, pulling, or yanking any harder is the fastest way to snap a delicate chain.
Likewise, if the worst happens and the chain breaks while you're working on it, resist the temptation to grab some pliers. A professional jeweler has the right tools and skills to make a repair that’s practically invisible.
Expert Tip: If a knot won't budge after 5-10 minutes of gentle work, or if a chain breaks, it's time for a professional. A small repair fee is always better than having to replace the entire piece.
How Can I Stop This From Happening When I Travel?
This is my favorite travel hack because it's so simple and effective: the drinking straw trick.
Just unclasp your necklace, thread one end through a regular drinking straw, and then fasten the clasp on the other side. The straw acts as a rigid sleeve, making it impossible for the chain to tie itself in knots. It costs nothing and ensures your necklaces arrive at your destination ready to wear, not ready for surgery.
At Panther De Luxe Shop, we believe your jewelry should bring joy, not frustration. Explore our collection of stunning, thoughtfully designed pieces that are made to be worn and loved. Find your next favorite accessory by visiting our online store.
Comments