
How to Clean Silver Jewelry and Make It Shine Again
- Luke Zucco
- Sep 16, 2025
- 13 min read

Tackling tarnished silver can feel like a chore, but it's easier than you might think. For a quick shine-up, a simple wash in warm water with a couple of drops of mild dish soap often does the trick for regular maintenance.
If you're dealing with light tarnish, a good silver polishing cloth is your best friend. For more stubborn discoloration, a paste made from baking soda and water works wonders. These tried-and-true methods bring back the brilliance without needing any harsh chemicals.
A Quick Guide to Restoring Your Silver Jewelry
Seeing your favorite silver piece lose its luster is always a bit disappointing. The good news is that you don't need to invest in a bunch of expensive, specialized cleaners. In fact, some of the most effective solutions are probably sitting in your kitchen cabinets right now.
The real secret is knowing which method to use for which piece of jewelry.
This guide will give you a quick rundown of my go-to approaches, helping you pick the right one with confidence. We'll cover three main techniques that handle just about any tarnish situation you'll come across.
Choosing Your Cleaning Method
A gentle soap and water bath is perfect for routine cleaning, especially for your more delicate items or anything set with gemstones.
When you notice your jewelry is just starting to look a bit dull, a dedicated silver polishing cloth is fantastic for quickly buffing away that initial layer of tarnish. But for the really stubborn, dark spots, the baking soda and aluminum foil method provides a much more powerful (and satisfying) clean.
Keeping sterling silver looking its best is all about consistent care. Most jewelers I know suggest a gentle polish every few weeks to a couple of months, depending on how often you wear the piece and where you store it.
Quick Silver Cleaning Method Selector
To make it even easier, here’s a quick reference table I put together. Just match your jewelry type to the best cleaning method.
Before you start, it’s always a good idea to know exactly what you're working with. If you aren't sure about the markings on your piece, check out this guide on European silver hallmarks: https://www.pantherdeluxe.com/post/european-silver-hallmarks-complete-authentication-guide. It can be a real lifesaver.
Jewelry Type | Best Cleaning Method | When to Use |
|---|---|---|
Everyday Rings & Chains | Mild Soap & Water | For weekly or bi-weekly maintenance. |
Lightly Tarnished Items | Silver Polishing Cloth | When you notice a slight dullness or yellowing. |
Heavily Tarnished Pieces | Baking Soda & Foil Method | For significant darkening and stubborn tarnish. |
Jewelry with Gemstones | Mild Soap & Water (Avoid soaking) | For delicate items requiring careful handling. |
This table should help you get started on the right foot, ensuring your silver stays safe and sparkling.
Once you’ve restored that beautiful shine, you might want to show it off! Whether you're selling online or just updating your collection's records, presentation is everything. Taking a look at professional jewelry product photography can give you some great ideas for making your pieces look their absolute best.
Safe and Gentle Homemade Cleaning Solutions
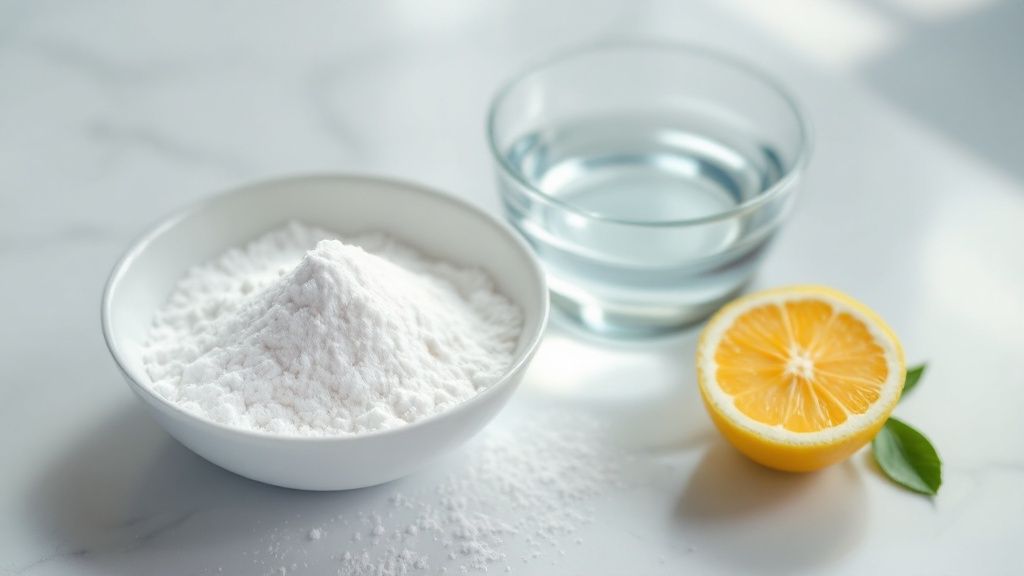
You really don't need a cabinet full of harsh chemicals to bring back your silver's shine. I've found that some of the most effective—and safest—methods use ingredients you probably already have in your kitchen. These solutions are gentle on the metal and perfect for regular maintenance.
The absolute mildest approach, and my go-to for pieces I wear often, is a simple bath of warm water and a few drops of mild dish soap. This is also the only method I'll use for jewelry with delicate gemstones. Stones like pearls, opals, and turquoise can be easily damaged by anything abrasive or chemical-heavy, making soapy water the perfect choice.
The Gentle Soap and Water Method
For this technique, just grab a small bowl and fill it with warm—not hot—water. Add a couple of drops of a good phosphate-free dish soap and give it a little swish to create a sudsy solution.
Pop your silver jewelry in the bowl and let it soak for a few minutes. This little bath helps loosen any surface dirt, lotions, or oils. Then, you can use your fingers or a very soft, clean cloth to gently rub the surface.
Got a piece with intricate details or tiny crevices, like the links of a chain? A soft-bristle toothbrush is your best friend here. A baby toothbrush is ideal because the bristles are extra gentle. Just scrub those hard-to-reach areas lightly, being careful not to apply too much pressure.
Once you’re done, rinse the jewelry thoroughly under cool running water and pat it completely dry with a lint-free cloth. Leaving it wet can lead to water spots, which kind of defeats the purpose!
Expert Tip: Never leave jewelry with porous stones like turquoise or pearls soaking for long. A quick dip and a gentle wipe-down is all it takes to protect them while still cleaning the silver settings.
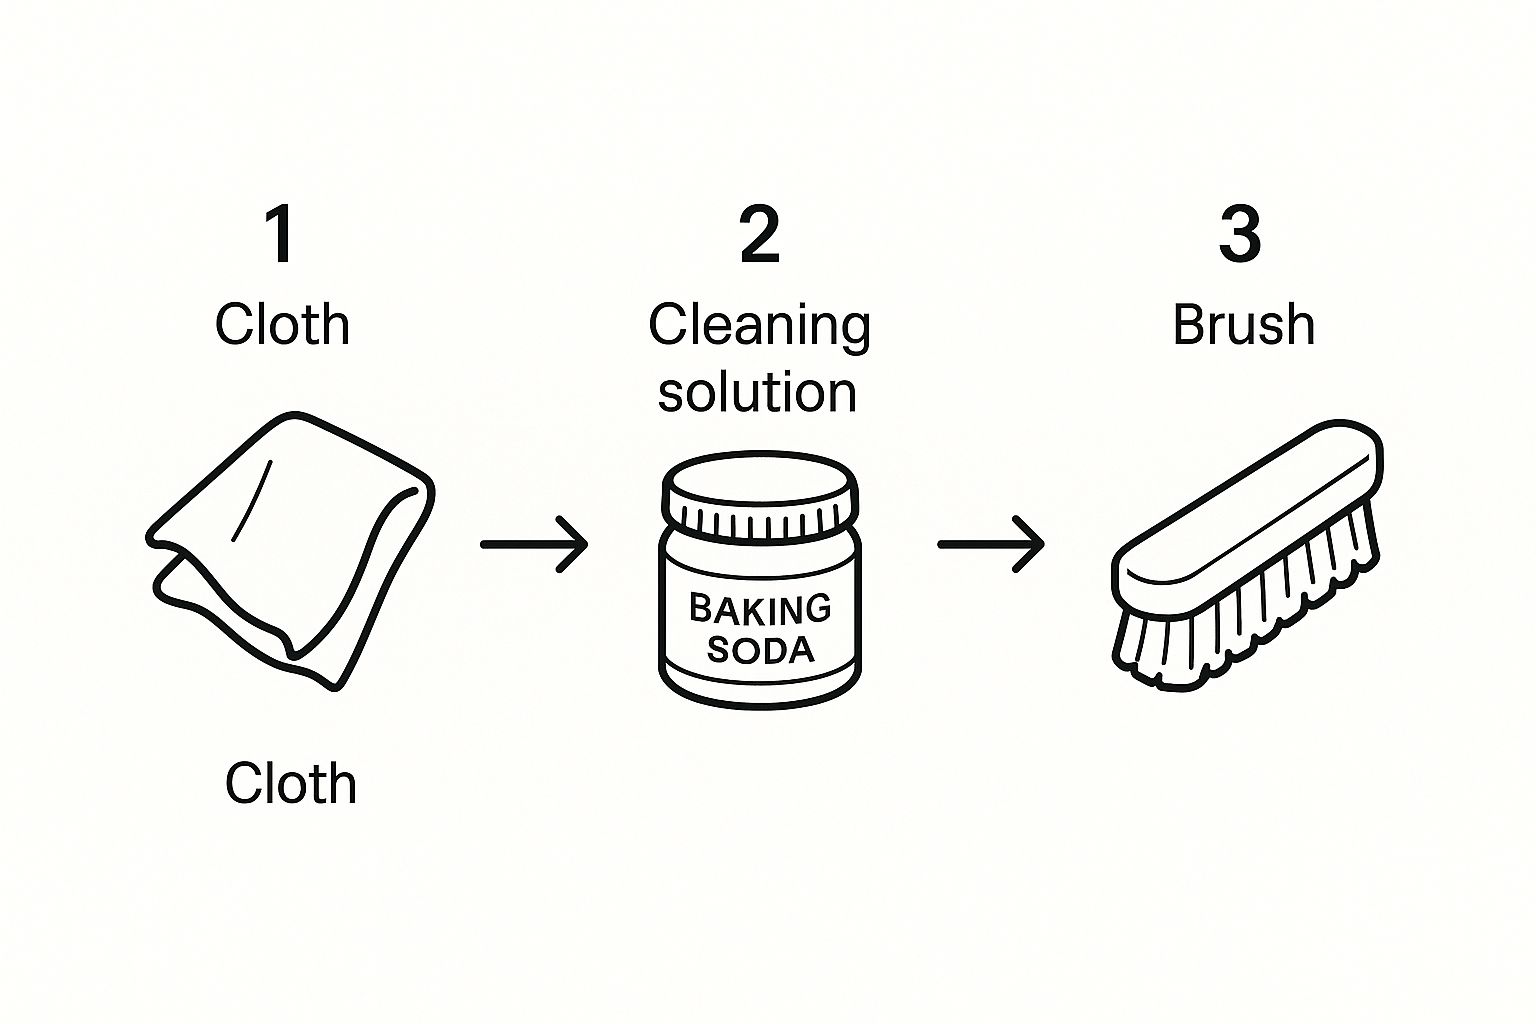
As you can see, having the right gentle tools—a soft cloth, a safe cleaning agent, and a soft brush—is the foundation for cleaning your silver at home without accidentally causing damage.
The Baking Soda and Foil Method for Tougher Tarnish
Now, when you're up against more stubborn tarnish that soapy water just won't budge, the baking soda and aluminum foil method works wonders. This technique creates a gentle chemical reaction that actually lifts the tarnish (silver sulfide) off your jewelry and transfers it to the foil. It's a bit like magic.
Here’s exactly how to do it:
First, line a small bowl or dish with a piece of aluminum foil, making sure the shiny side is facing up.
Place your silver jewelry directly onto the foil. It's crucial that the silver is touching the aluminum.
Next, sprinkle about a tablespoon of baking soda over the jewelry.
Finally, carefully pour hot (but not boiling) water into the bowl until the jewelry is completely submerged.
You'll probably notice some fizzing and maybe a faint "rotten egg" smell—that's just the sulfur leaving your silver. It means the process is working! Let the jewelry sit for about 5 to 10 minutes, depending on how tarnished it is.
This popular electrolytic method is a fantastic science experiment you can do right in your kitchen. If you're curious, you can find more insights on this cleaning science to understand the electrochemical reaction better.
After the time is up, carefully remove your jewelry with tongs (the water will still be hot!), rinse it well under cool water, and buff it dry with a soft cloth.
Be warned, though: this method isn't for every piece. Avoid using it on jewelry that has intentionally darkened or oxidized details, as it will strip that beautiful patina right off. I'd also steer clear of this for any pieces with glued-in stones, as the heat can weaken the adhesive and cause them to fall out.
Using Commercial Cleaners and Polishing Cloths
While I'm a big fan of DIY cleaning methods, there are times when you just need the targeted power of a product made specifically for the job. Store-bought silver cleaners and polishing cloths are fantastic tools to have in your arsenal, especially when you're short on time or dealing with stubborn tarnish.
They offer a level of convenience and formulated strength that’s hard to beat. You’ll find everything from gentle, treated cloths perfect for quick touch-ups to potent chemical dips for those moments of serious tarnish trouble. The real secret is knowing which one to reach for and when.
The Safest First Step: Polishing Cloths
For the light, everyday tarnish that builds up with regular wear, a silver polishing cloth is my go-to. I can't recommend them enough. These aren't just any old rags; they're clever, two-part cloths infused with micro-abrasives and anti-tarnish compounds that get the job done safely.
Using one couldn't be easier:
First, grab the inner, lighter-colored cloth. This is the side with the cleaning agent. Gently but firmly rub your jewelry with it. You'll quickly see black marks appearing on the fabric—that's a good sign! It means the tarnish is lifting right off your silver.
Once you're done cleaning, switch to the outer, darker-colored cloth to buff the piece. This polishes the surface to a brilliant shine and leaves behind a thin, protective barrier to slow down future tarnishing.
What I love most about these cloths is the control they give you. You can precisely clean around delicate engravings or avoid intentionally darkened (oxidized) areas that give a piece its character. For more advice on keeping your silver radiant, you might want to check out our guide on how to polish silver naturally for a perfect shine.
A Quick Word of Warning: Whatever you do, don't wash your polishing cloth! Washing it strips out all the special cleaning agents, making it just a plain piece of fabric. I keep mine in a small zip-top bag to protect it from dust between uses.
When a Chemical Dip Might Be Necessary
So, what about those pieces that are so heavily tarnished that a cloth barely makes a dent? This is where a chemical dip might come to mind. These liquid cleaners are incredibly fast-acting, often dissolving dark tarnish in just a few seconds. But that speed and power come with some serious caveats.
These solutions work by using strong chemicals to strip the tarnish layer off the silver. The problem is, they can be far too aggressive for many types of jewelry.
You should absolutely never use a chemical dip on the following:
Jewelry with soft or porous stones. Think pearls, opals, turquoise, or coral. The chemicals will cause irreversible damage, dulling and sometimes even dissolving the stone's surface.
Antique jewelry with a patina. That soft, dark finish in the crevices of an old piece is part of its history and value. A dip will strip it away in an instant, ruining its antique character.
Pieces with glued-in settings. The liquid can easily seep into the setting and weaken the adhesive, causing stones to fall out.
If you have a sturdy, all-silver item and decide a dip is your only option, please be careful. Always wear gloves, make sure you're in a well-ventilated space, and never, ever leave the jewelry in for longer than the instructions say—which is usually no more than 10-15 seconds. As soon as you take it out, rinse it thoroughly under cool running water and dry it completely with a soft cloth.
Common Cleaning Mistakes That Can Ruin Silver
Knowing the right way to clean silver is only half the battle. Honestly, knowing what not to do is where you really save your favorite pieces from a sad fate. I've seen it happen too many times—someone with the best intentions grabs a common household product and accidentally causes permanent damage.
A quick fix can easily lead to long-term regret. Let's go over the biggest missteps you need to avoid to keep your silver looking brilliant for decades, not just for a day.
The Myth of Toothpaste and Baking Soda
This one is a classic, and it makes me cringe every time I hear it: using toothpaste to polish silver. It’s probably the single most damaging piece of "life hack" advice out there.
While it might look like it’s working at first glance, most toothpaste is packed with abrasive ingredients like silica. These are great for scrubbing enamel on your teeth, but on a soft metal like silver, they act like fine-grit sandpaper. You're literally carving thousands of microscopic scratches into the surface, which ruins the metal’s ability to reflect light. The result? A dull, hazy finish that you can never truly polish away.
The same exact problem applies to using baking soda as a thick, gritty paste. It's just too harsh for the job.
My rule of thumb is simple: If a product is designed to scrub a tough surface, it has no business near your delicate silver. The goal is to lift tarnish, not scratch it off.
Harsh Chemicals Are a Recipe for Disaster
It's so tempting to reach for a powerful cleaner under the sink when you're faced with stubborn tarnish, but please, resist the urge! Household chemicals are silver's worst enemy.
Things like chlorine bleach, ammonia-based cleaners (like Windex), and even acetone will aggressively react with the silver alloy. This doesn't just clean it; it causes pitting, corrosion, and ugly, permanent discoloration. Even seemingly natural cleaners with lemon or vinegar can be too acidic, especially if your jewelry features porous gemstones like turquoise or pearls.
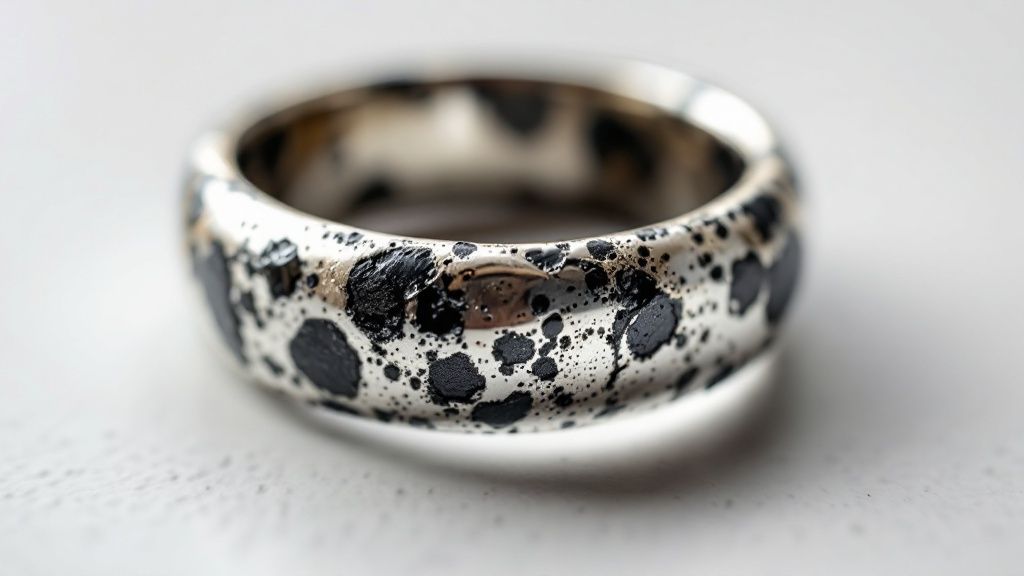
And whatever you do, keep your silver far away from the dishwasher. The combination of intense heat and harsh, corrosive detergents is a surefire way to destroy a piece. You'll end up with dark, blotchy spots that are nearly impossible to remove.
To make it easy to remember what to steer clear of, here’s a quick comparison of the good, the bad, and the ugly when it comes to cleaning agents.
Abrasive vs Safe Cleaning Agents for Silver
Before you grab something from your pantry or cleaning closet, take a quick look at this table. It's a simple guide to what's safe for your jewelry and what could cause some serious damage.
Avoid This (Abrasive/Damaging) | Why It's Harmful | Use This Instead (Safe Alternative) |
|---|---|---|
Toothpaste | Contains micro-abrasives that scratch and dull the surface over time. | A non-abrasive, professional silver polishing cream. |
Baking Soda (as a paste) | The gritty texture is too harsh and will leave fine scratches on the metal. | A simple soak in warm water with a few drops of mild, phosphate-free dish soap. |
Bleach or Ammonia | These harsh chemicals cause severe corrosion and permanent dark spots. | A specially formulated silver cleaning dip for heavily tarnished items. |
Paper Towels or Tissues | The wood fibers can be surprisingly abrasive and may leave lint behind. | A soft microfiber cloth or an old, clean 100% cotton t-shirt. |
Ultimately, treating your silver with care means choosing tools and cleaners that are as gentle as the metal itself. Thinking of it this way has always helped my clients: you’re not scrubbing a dirty pot, you’re restoring a piece of art. That mindset shift makes all the difference.
Preventing Tarnish With Smart Storage And Care
Honestly, the best way to "clean" your silver jewelry is to keep it from getting tarnished in the first place. Think of it this way: proactive care is always easier than reactive cleaning. It all comes down to understanding what you're up against. Tarnish isn't just dirt—it's a chemical reaction, a slow burn between the silver and sulfur compounds floating in the air.

Humidity and everyday chemicals kick this reaction into overdrive. The good news? You can seriously slow it down just by controlling your jewelry's environment. A few smart habits will keep your pieces looking brilliant for much, much longer.
Smart Storage Solutions
Where you stash your silver when it's not being worn matters more than you might think. Just tossing it on a nightstand or leaving it out in a steamy bathroom is basically an open invitation for tarnish to move in. The goal is simple: limit its exposure to open air.
Here are a few of my go-to storage methods that really work:
Airtight Containers: You don't need anything fancy. A simple plastic container or even a good quality zip-top bag does the trick. Just be sure to squeeze out as much air as possible before you seal it up.
Anti-Tarnish Bags or Cloths: These are a fantastic investment. They're treated with special compounds that literally absorb the airborne sulfur, stopping tarnish before it can even start.
Silica Gel Packets: Remember those little packets that come in new shoe boxes or purses? Start saving them! Tossing one into your jewelry box is a game-changer for absorbing excess moisture, a major catalyst for tarnish.
If you're managing a larger collection or even running a jewelry business, proper storage becomes absolutely crucial. It's worth looking into professional jewelry fulfillment best practices to see how the pros protect their inventory.
Daily Habits That Make A Difference
How you wear your jewelry every day plays a huge role, too. I always tell people to think of their jewelry as the final touch—the very last thing you put on before leaving the house, and the first thing you take off when you get home.
Adopting a "last on, first off" policy is the single most effective habit for keeping silver pristine. This simple rule minimizes contact with the corrosive chemicals in lotions, perfumes, hairspray, and makeup.
Before you put your pieces away for the night, give them a quick, gentle wipe with a soft, lint-free cloth. This little step removes the skin oils and moisture that have built up during the day. By making these small actions part of your routine, you’ll spend way less time polishing and far more time enjoying your beautiful, sparkling silver.
For a more comprehensive look at this, check out our guide on https://www.pantherdeluxe.com/post/how-to-prevent-jewelry-from-tarnishing-expert-tips.
Common Questions About Keeping Your Silver Sparkling
Even with a solid cleaning plan, you're bound to run into specific questions, especially when dealing with a piece you truly love. You might find yourself wondering if you're cleaning it too much, or if that plated necklace needs special treatment. Let's tackle some of the most common questions I get asked, giving you the clear answers you need to handle these situations like a pro.
Getting these little details right can be the difference between a simple polish and a costly mistake. We'll get into the nitty-gritty, from how often you should clean your pieces to the delicate art of caring for silver-plated jewelry.
How Often Should I Really Clean My Silver Jewelry?
Honestly, there's no single magic number here. The best cleaning schedule really boils down to how you live with your jewelry. It depends on how often you wear a piece, your unique body chemistry, and even the humidity in your area.
If you have a ring or necklace you never take off, a great habit is to give it a quick wipe with a soft cloth at the end of the day. This simple step whisks away the oils and sweat that can kickstart the tarnishing process. For a deeper clean, a gentle bath in some mild, soapy water about once a month should be perfect.
The real secret is to just pay attention. As soon as you spot that first hint of dullness or a faint yellow hue, it's time to act. Tackling light tarnish early is always easier than wrestling with dark, stubborn buildup down the road.
Can I Clean Silver-Plated Jewelry the Same Way?
This is a fantastic question, and the answer is a hard no. You have to be way more careful with silver-plated pieces. The crucial thing to remember is that a plated item has just a whisper-thin layer of silver over a different base metal, like copper or brass.
If you get too aggressive, you can literally scrub that silver layer right off, exposing the metal underneath for good. You absolutely have to steer clear of abrasive pastes like baking soda or any of those harsh chemical dips. They're notorious for stripping plating.
Instead, stick to the most delicate methods you can:
A soft, dedicated silver polishing cloth is your best friend. It’s designed to gently buff away tarnish without damaging the thin silver layer.
If a piece is just a bit grimy, a quick dip in lukewarm, soapy water followed by a careful pat dry is all you need. Whatever you do, don't scrub.
Think of it less like scrubbing a pot and more like dusting a fragile antique. When it comes to plated silver, less is definitely more.
Why Does My Silver Jewelry Tarnish So Fast?
If you feel like you're in a constant battle with tarnish, you're not imagining things. Tarnish is just a natural chemical reaction that happens when silver meets sulfur compounds in the air, and some things can really put that process into overdrive.
Humidity is a big one; moisture in the air acts like a catalyst. But everyday items can be culprits, too—think wool sweaters, rubber bands, latex gloves, and even certain foods like eggs or onions. On top of that, everyone’s skin chemistry is slightly different. The specific pH and oils on your skin can make silver tarnish much faster on you than on someone else.
At Panther De Luxe Shop, we think caring for your jewelry should be a joy, not a chore. We invite you to explore our collections and find a timeless piece, confident that you now have the know-how to keep it looking brilliant for years to come. See for yourself at https://www.pantherdeluxe.com.
Comments