
How to Remove Tarnish and Restore Jewelry Shine
- Luke Zucco
- Sep 5, 2025
- 13 min read

Removing tarnish is more than just wiping away dirt—it's about reversing a simple chemical reaction. Think of it less as cleaning and more as a restoration project. That discoloration you see is actually a thin layer of corrosion, most often silver sulfide, which forms when your jewelry reacts with sulfur compounds floating in the air.
What Actually Causes Jewelry Tarnish

Before you can bring back that brilliant shine, it helps to know what you're up against. That dark, dull layer on your favorite silver necklace isn't grime you can just scrub off. It’s the result of a chemical process called oxidation.
When metals like silver, copper, and brass are exposed to sulfur in the atmosphere, a new compound forms right on the surface. For silver, this creates that classic black or dark gray film we all recognize. This process is surprisingly common, driven by everyday elements in our environment.
The Science Behind the Discoloration
Think of tarnish as a very slow, controlled form of corrosion. Unlike rust, which eats away at iron and causes permanent damage, tarnish typically only affects the outermost layer of the metal. This is great news because it means the discoloration is almost always reversible without harming the actual piece.
Just how fast your jewelry tarnishes depends on a few key things:
Humidity: Moisture in the air is a major catalyst. It speeds up the chemical reaction between the metal and airborne sulfur.
Pollutants: Hydrogen sulfide, a common air pollutant from industrial emissions and even natural sources, is a primary culprit.
Everyday Materials: You'd be shocked at what can release sulfur compounds and dull your jewelry's sparkle.
This reality has fueled a massive industry. The global stain remover market, valued at around $24.98 billion, is expected to soar to $38.46 billion by 2033. This growth shows just how much people care about keeping their belongings pristine. For a deeper dive, you can explore more data on stain remover market trends.
Surprising Tarnish Culprits in Your Home
You might be surprised to learn what triggers tarnish. It’s not just about general air exposure; many common items in your home release sulfur-containing gases that can discolor your jewelry right under your nose.
We’ve all seen it happen—a favorite ring or bracelet suddenly looks dull after being left out. Let's look at a few of the most common culprits for different metals.
Common Tarnish Culprits at Home
Metal Type | Common Causes of Tarnish | Appearance of Tarnish |
|---|---|---|
Silver | Air (hydrogen sulfide), wool, rubber bands, latex, eggs, onions, certain paints, wood | Starts as a yellowish tint, turns dark brown, then black. |
Copper | Humidity, acids (from food or skin oils), oxygen | Develops a blue-green patina (verdigris) or a dark brown/black coating. |
Brass | Oxygen, moisture, acidic substances | Dulls to a brownish, greenish, or reddish color. |
Gold (lower karats) | Alloy metals (copper, silver) reacting with sulfur and moisture; gold itself doesn't tarnish. | Dark spots or a black film appear, especially on 10k or 14k gold. |
Understanding what causes the tarnish is the first step toward preventing it. Keeping your jewelry away from these common triggers can make a huge difference.
Key Insight: Preventing tarnish is all about smart storage. Keeping your pieces away from these everyday culprits will dramatically reduce how often you need to break out the cleaning cloths.
For instance, that wool sweater you love? It’s high in sulfur. So are latex gloves, rubber bands, and even foods like onions and eggs. Storing your jewelry in a wooden box can also be an issue, as some woods and glues emit fumes that accelerate tarnishing. Even a simple rubber band left around a silver spoon will leave a dark, stubborn mark.
Knowing these triggers helps you not only remove tarnish but, more importantly, stop it before it starts.
Gentle and Effective DIY Cleaning Methods
Before you rush out to buy a specialized cleaner, take a look in your kitchen. You’d be surprised how many effective, gentle solutions for removing tarnish are already sitting in your pantry. I often prefer these home remedies because they're inexpensive, and more importantly, you know exactly what you're putting on your precious jewelry.
One of the oldest and most reliable tricks in the book is the baking soda and aluminum foil bath. It sounds like a science experiment, and it sort of is! This method is a lifesaver for heavily tarnished sterling silver because it actually reverses the chemical reaction causing the tarnish. Instead of scrubbing away at the surface, which can cause micro-scratches, this little bit of kitchen chemistry lifts the tarnish right off.
The Aluminum Foil and Baking Soda Bath
I especially love this technique for intricate pieces, like detailed filigree or complex chains, where a polishing cloth just can't reach. It's a set-it-and-forget-it method that lets a gentle chemical reaction do all the heavy lifting.
Here’s my go-to process:
Grab a bowl (glass or ceramic is best) and line it with a sheet of aluminum foil, making sure the shiny side is up.
Place your tarnished silver items inside, ensuring they make direct contact with the foil.
Sprinkle a good tablespoon of baking soda over the jewelry.
Next, carefully pour in enough boiling water to completely cover everything. You’ll see some fizzing and might notice a faint smell of sulfur—that’s a good sign! It means the tarnish is leaving your jewelry.
Just let the pieces soak for about 5 to 10 minutes. You can literally watch the tarnish disappear from your silver and reappear on the foil. When the time’s up, use a pair of tongs (it's hot!) to remove the jewelry, give it a quick rinse under cool water, and gently pat it dry with a soft, lint-free cloth.
If you work with silver a lot, you might find these easy and safe tips for cleaning silver at home to be a fantastic resource.
Creating a Gentle Cleaning Paste
What if your jewelry has just a hint of tarnish or it's a piece you can't submerge in boiling water? For that, a simple baking soda paste works wonders. This is a much better alternative to old myths like using toothpaste, which is far too abrasive and can easily scratch your metal. This paste gently lifts the discoloration without damaging the finish.
This is my quick-fix for pieces that are just starting to look a little dull.
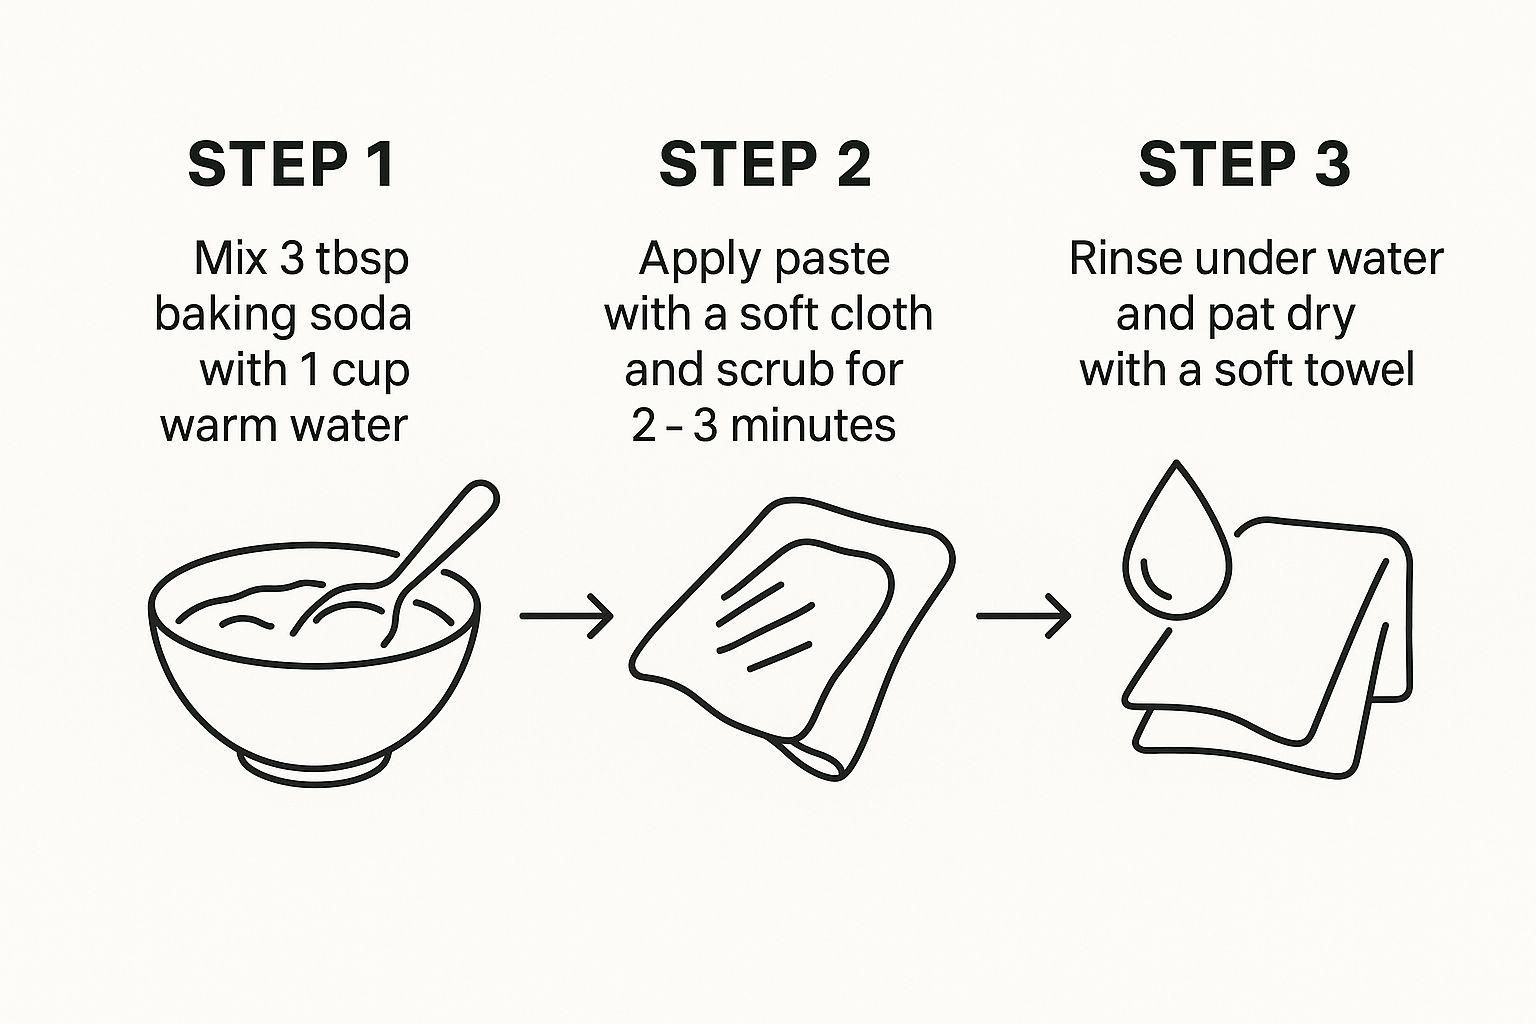
As the guide shows, it's incredibly simple. The most important thing to remember is to use a very soft cloth and apply only light pressure. Let the paste do the work, not your elbow grease.
Choosing the Right DIY Tarnish Removal Method
Not every home remedy is suitable for every piece of jewelry. It's crucial to match the method to the metal and the level of tarnish you're dealing with. To help you decide, I've put together this quick comparison table based on years of experience.
DIY Method | Best For (Metals) | Effectiveness | Safety Precautions |
|---|---|---|---|
Baking Soda & Foil Bath | Solid Sterling Silver, Silver-Plate | High for heavy tarnish | AVOID with soft stones (pearls, opals, turquoise), antiques with patinas, or glued-in gems. |
Baking Soda Paste | Silver, Copper, Brass | Medium for light to moderate tarnish | Gentle pressure is key. Not recommended for plated jewelry, as it can be abrasive over time. |
Mild Dish Soap & Water | Gold, Platinum, Silver, most Gemstones | Low (cleans grime, light tarnish) | The safest option for almost all jewelry. Always the best first step. |
Ketchup or Lemon Juice | Copper, Brass | Medium for moderate tarnish | Acidic. Rinse thoroughly. NEVER use on silver, gold, plated items, or porous stones. |
This table should give you a good starting point. When you're unsure, always begin with the mildest method—soap and water—before moving on to something stronger.
A Quick Word of Caution: Please be careful with these baking soda methods when gemstones are involved. The hot water bath is a definite no-go for soft or porous stones like pearls, opals, or turquoise. The thermal shock and chemical reaction can cause them to crack or lose their luster permanently.
When in doubt, the simplest approach is often the best. A few drops of mild dish soap in a bowl of warm water can handle everyday grime and light tarnish on almost any piece of jewelry, making it the safest place to start.
Using Commercial Tarnish Removers Safely

While the home remedies we've discussed are perfect for light, routine upkeep, sometimes you're faced with tarnish that just won’t budge. This is where commercial tarnish removers earn their keep. These products are formulated specifically for this job, offering powerful and consistent results when you need a bit more muscle.
It's no surprise that the market for these solutions is huge. The broader stain remover market, which tarnish removers are part of, hit USD 22.9 billion and is expected to climb to USD 38.4 billion by 2033. This boom is all about people wanting to take better care of their belongings, with powder-based cleaners alone making up a 31.8% share of that market.
Choosing the Right Type of Cleaner
When you start shopping, you’ll find that commercial products generally fall into three camps. Picking the right one really depends on how bad the tarnish is, what your jewelry is made of, and frankly, how you prefer to work.
Polishing Cloths: These are my go-to for quick touch-ups. They usually have two sides: one treated with a very gentle chemical cleaner and a plain side for buffing. They're fantastic for wiping away fingerprints and minor discoloration on pieces you wear often.
Creams and Pastes: These offer a bit more oomph than a cloth. You apply a small amount with a soft cloth and gently work it into the metal. I find them ideal for moderate tarnish because you have total control over where the product goes, which is a lifesaver for pieces with intricate details or stones you want to avoid.
Chemical Dips: This is the heavy artillery. These are liquid solutions designed for seriously tarnished items. You just dip the piece for a few seconds, and the chemicals dissolve the tarnish away. They’re incredibly fast and effective, but they are also the most aggressive option and come with some serious risks.
Reading Labels and Avoiding Damage
Before you even open a product, read the label carefully. This is the single most important step. Pay close attention to whether a cleaner is "abrasive" or "non-abrasive." Abrasive formulas can leave behind microscopic scratches that, over time, will make your jewelry look dull and worn.
Crucial Safety Tip: Chemical dips are extremely powerful and should never be used on jewelry with soft or porous gemstones. Stones like pearls, opals, turquoise, and coral can be permanently ruined by these harsh chemicals, leaving them cloudy, discolored, or even cracked.
When you're working with dips or strong creams, always do it in a well-ventilated space to avoid inhaling fumes. I also recommend wearing gloves to keep the chemicals off your skin. Once you're done, the job isn't over—rinse your jewelry thoroughly under clean water and dry it completely. You want to make sure every last bit of chemical residue is gone.
For more in-depth advice on tackling different types of jewelry, our complete guide on how to clean tarnished jewelry easily with expert tips breaks it down even further. Making the right choice here won’t just bring back your jewelry's shine; it will help protect its value and beauty for years to come.
Cleaning Tarnish on Different Types of Jewelry
Thinking you can clean all your jewelry the same way is a huge mistake. The technique that makes a sterling silver bracelet look brand new could completely destroy your grandmother's pearl earrings. The secret to safely removing tarnish is knowing what you're working with and matching your method to the metal and any gemstones.
It's just like doing laundry—you'd never throw a delicate silk shirt in with a pile of heavy-duty jeans. The same logic holds true for jewelry. Using a heavy-handed approach can easily strip off plating, scratch soft metals, or ruin porous stones. So, your first and most critical job is to identify the material.
Sterling Silver and Other Solid Metals
Sterling silver is pretty tough stuff, which means it can handle some of the more powerful cleaning methods, like that baking soda and foil bath we talked about. Since it's a solid alloy all the way through, you don't have to worry about rubbing off a thin top layer. The tarnish is just a surface issue, and a simple chemical reaction or some gentle polishing will lift it right off without hurting the metal.
The same idea generally works for solid copper or brass jewelry, too. You can feel a bit more confident using mild acids, like a squeeze of lemon juice, or a specially formulated paste. Just remember to always be gentle—even solid metals can get scratched if you use something too abrasive.
Gold-Plated and Silver-Plated Jewelry
Okay, this is where you need to slow down and be extra cautious. Plated jewelry has a very thin layer of gold or silver over a base metal, which is usually something like brass or copper. That "tarnish" you see might actually be the base metal peeking through where the plating has worn thin, or it could be a reaction happening underneath that fragile top layer.
The most important thing to remember: When dealing with plated pieces, aggressive polishing is your worst enemy. If you scrub too hard, you won't just be removing tarnish—you'll be physically stripping away the precious metal itself. You'll be left with a patchy, discolored piece that you can't fix at home.
For anything plated, always reach for the mildest methods available:
Gentle soap and water: A few drops of mild dish soap in a bowl of warm water is perfect. Just use your fingers or an incredibly soft cloth to clean the piece.
Specialty polishing cloths: Look for cloths made specifically for plated jewelry and use almost no pressure. Let the cloth do the work.
Skip the chemical dips: These commercial cleaners are way too aggressive and can eat right through thin plating in a matter of seconds.
Caring for Jewelry with Gemstones
Now we're in the most delicate territory. A lot of popular gemstones are porous, which is a fancy way of saying they can absorb whatever liquids they touch. If they absorb the wrong thing, like a harsh chemical, they can become permanently discolored or damaged.
You should never submerge jewelry with these stones into any kind of cleaning solution, especially hot water or chemical dips:
Pearls
Opals
Turquoise
Coral
Amber
Malachite
The only safe way to clean tarnish on these pieces is to focus exclusively on the metal settings. I like to dip a cotton swab in a mild, soapy solution and carefully trace the metal around the stone, making sure not to touch the gem itself. Once you're done, dry the metal immediately with a soft, clean cloth.
Getting Into Intricate Chains and Filigree
Let's be honest, cleaning complex designs is a real pain. A polishing cloth is useless for getting into all the tiny crevices of a detailed chain or a filigree pendant. This is where a "no-touch" cleaning method is your best friend.
For solid sterling silver chains, that aluminum foil and baking soda bath is a fantastic option. The chemical reaction does all the work for you, reaching into every single link without any scrubbing. If your chain is plated or particularly delicate, a gentle soak in a mild soap-and-water solution is the way to go. It will help dislodge any grime and light tarnish from those impossible-to-reach spots.
Smart Habits to Prevent Tarnish Formation
Knowing how to remove tarnish is a great skill to have, but let's be honest—preventing it in the first place is so much easier. A few simple, proactive habits can keep your favorite pieces brilliant and ready to wear, meaning you’ll spend far less time scrubbing and polishing.
The easiest rule to live by is "last on, first off." Think of your jewelry as the finishing touch. It should only go on after you’ve applied all your makeup, lotions, hairspray, and perfume. Why? Because the chemicals in those products are notorious for speeding up tarnish.
By the same token, your jewelry should be the first thing you take off before you head to bed, change clothes, or even wash your hands. This little habit protects it from getting snagged on fabric or coated in soap residue.
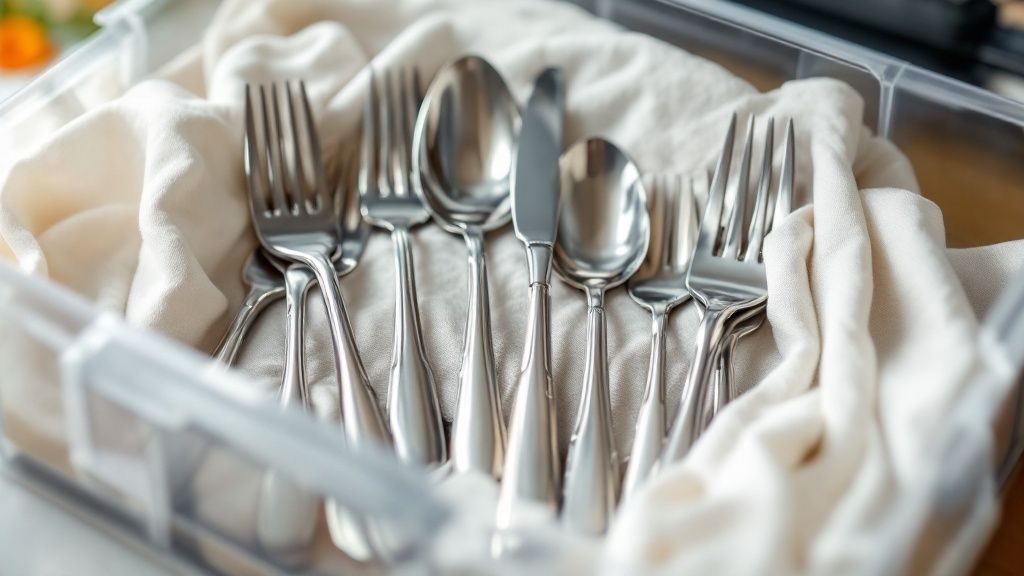
Strategic Storage Is Your Best Defense
I can't stress this enough: how and where you store your jewelry is the single biggest factor in preventing tarnish. The goal is to limit exposure to air and humidity, the two main culprits that kickstart the chemical reaction causing discoloration. Leaving your jewelry out on a dresser is pretty much asking for it to tarnish.
Here are a few of my go-to storage solutions:
Airtight Containers: A simple zip-top bag works wonders. Just squeeze out as much air as you can before sealing it shut. This creates a low-oxygen environment where tarnish can't thrive.
Anti-Tarnish Cloths or Strips: These are a game-changer. They’re treated with special materials that actively absorb the airborne pollutants that cause tarnish. You can line a jewelry box with them or buy small pouches for individual pieces.
Felt-Lined Jewelry Boxes: Any closed box with a soft lining is a good start. It helps shield your pieces from dust and scratches while limiting their contact with open air.
It's interesting to see how this focus on maintenance is reflected in broader market trends. The global market for stain removers, for instance, was valued at USD 16.86 billion and is expected to climb to USD 23.61 billion by 2032. This shows a clear consumer desire for effective products that preserve the look and value of personal belongings, including precious jewelry. For more on this trend, you can explore the full market analysis on databridgemarketresearch.com.
Daily Wear and Environmental Awareness
Here's a fun fact: wearing your silver jewelry often can actually help keep it looking good. The natural oils from your skin act as a gentle cleanser, helping to maintain its luster over time.
Of course, there are some big exceptions to this rule.
Always take your jewelry off before doing anything that involves moisture or harsh chemicals. That means no showering with it on, and definitely no swimming—chlorine is incredibly damaging. The same goes for washing dishes or hitting the gym, as sweat contains salts that accelerate tarnishing.
Being mindful of your environment and building these habits into your daily routine is the key to proactive care. For even more ideas, check out our complete guide on expert tips to prevent jewelry from tarnishing.
Of course, even when you know the basics, a few tricky questions always pop up. Getting these details right can be the difference between bringing a piece back to life and accidentally causing damage. Let's walk through some of the most common questions I hear about getting rid of tarnish.
A big one is always about how often to clean silver jewelry. If it’s something you wear every day, like a favorite ring or necklace, just give it a quick wipe-down with a soft polishing cloth when you take it off. This simple habit gets rid of the day's grime and oils before they can start causing trouble. For a more thorough cleaning, you probably only need to do it every few months, though this really depends on your climate and even your body's unique chemistry.
Expert Tip: Don't underestimate the power of good storage. An anti-tarnish bag or box is your best friend. It dramatically cuts down on how often you'll need to do a deep clean, which saves you a lot of work in the long run.
Can Toothpaste Really Get Rid of Tarnish?
I see this "life hack" all over the internet, and I have to be blunt: please don't do it. Yes, it might look a little better at first glance, but you're actually doing more harm than good.
Most toothpastes are packed with tiny abrasive particles meant for tough tooth enamel. When you rub that onto a soft metal like silver, you're essentially sanding it down, creating thousands of tiny scratches. Over time, this will completely ruin the piece's luster and, ironically, creates more nooks and crannies for tarnish to grab onto later. It’s always better to use something made specifically for jewelry.
What About the Foil and Baking Soda Trick? Is It Safe for Gemstones?
This is such an important question, and the answer is a firm "it depends." That chemical bath with aluminum foil and baking soda is fantastic for plain silver, but you have to be extremely careful when stones are involved. It's only safe for pieces set with very hard, non-porous gems, like diamonds.
You should never, ever use this method if your jewelry features soft or porous stones.
This includes common culprits like:
Pearls
Opals
Turquoise
Coral
Amber
The hot water and the chemical reaction can be a disaster for these delicate gems. They can turn cloudy, change color, or even crack from the stress. If you're ever unsure, just play it safe. Clean the metal parts carefully with a cloth and leave the stones alone.
At Panther De Luxe Shop, we believe that caring for your jewelry should be simple and rewarding. Explore our curated collections and find your next timeless piece at https://www.pantherdeluxe.com.
Comments