
How to Clean Silver Jewelry at Home: Easy Tips & Tricks
- Luke Zucco
- Aug 11, 2025
- 9 min read

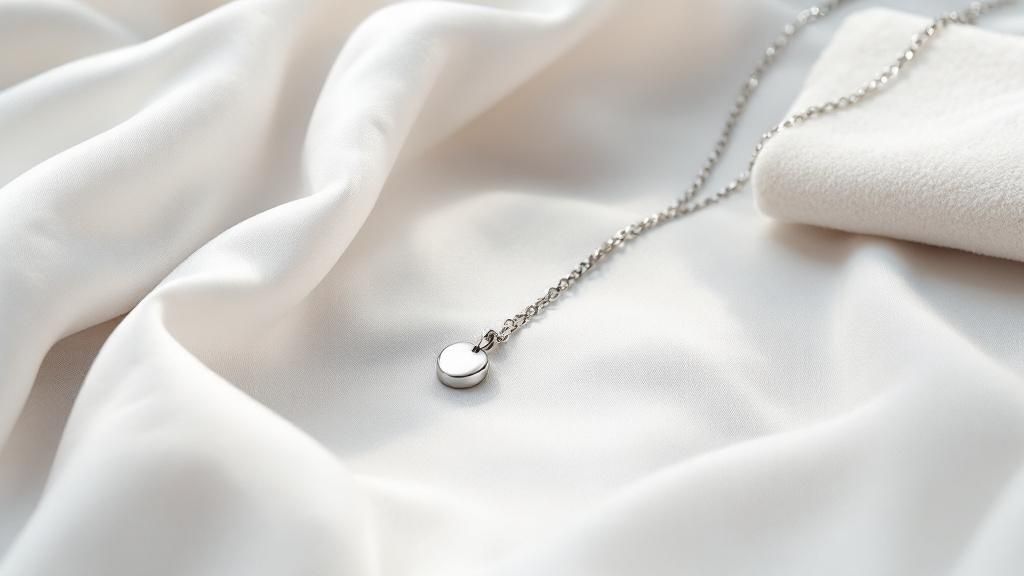
It's always a bit deflating when you pull out a favorite silver necklace only to find it looking dull and lifeless. But don't worry—the fix for how to clean your silver jewelry at home is probably sitting in your kitchen cabinet right now. For pieces that are just a little lackluster, a simple paste of baking soda and water, gently rubbed on with a soft cloth, can bring back that sparkle in minutes.
Bringing Your Tarnished Silver Back to Life
That frustrating grayish-black film clouding your favorite silver pieces isn't a sign that they're ruined or low-quality. It’s just tarnish, which is a completely normal chemical reaction. It happens when sterling silver meets sulfur compounds floating around in the air. Things we encounter every day, like humidity, perfumes, lotions, and even some foods, can speed this process up.
Once you understand what's happening, it's a lot less intimidating to restore that shine without accidentally damaging your jewelry. The best part? You don't need to rush off to a professional. Many of the most effective cleaning methods use items you already have, putting the power to revive your cherished pieces right back in your hands.
Why At-Home Cleaning Is a Great Skill to Have
Knowing how to care for your own jewelry is not only cost-effective but also incredibly empowering. It lets you handle routine upkeep that stops heavy tarnish from building up in the first place. A little proactive care now saves you a lot of heavy-duty scrubbing later.
It’s clear more and more people are interested in maintaining their valuables. The global market for gold and silver cleaners was valued at around USD 2.5 billion in 2023 and is expected to keep growing. This shows a real shift toward people taking jewelry care into their own hands.
Key Takeaway: The secret to successful home cleaning is choosing the right method for your specific piece. A gentle polish is perfect for light dullness, but you'll need something stronger for heavy, dark tarnish.
This guide will walk you through the most reliable techniques, so you can feel confident no matter what you're cleaning. For more great ideas, be sure to check out our easy and safe tips for cleaning silver at home. We're here to demystify the whole process.
The Go-To Soap and Water Method for Everyday Pieces
For the silver jewelry you live in—your favorite rings, a simple chain, or daily studs—you don't need a heavy-duty approach. A little bit of dullness from skin oils, lotions, and just being out in the world is normal. The best and safest way to handle it is with a simple soap and water bath.
Honestly, this should always be your first line of defense, especially if you're not entirely sure what a piece is made of or if it has delicate gemstones.
The Right Tools for a Gentle Clean
Think of it like washing a delicate sweater; you wouldn't just throw it in with everything else. You need the right supplies to avoid causing accidental scratches or damage.
Here's your basic kit:
A small bowl of lukewarm water with just a few drops of a mild, phosphate-free dish soap. Avoid harsh detergents, as some have chemicals that can harm silver or stones.
A soft-bristled toothbrush—I always recommend a baby toothbrush. Its bristles are perfect for getting into all the nooks and crannies of a detailed design without scratching the metal.
A lint-free microfiber cloth. This is non-negotiable for getting a perfect, streak-free shine when you dry.
This quick and easy method is all you need to keep your most-worn jewelry looking bright and beautiful, as long as it hasn't developed that deep, dark tarnish yet.
How to Wash and Dry Your Silver
First, let your jewelry soak in the soapy water for about 5-10 minutes. This little bath does wonders to loosen up any surface grime, making the next step much easier.
After the soak, take your soft brush and gently scrub the piece. Give a little extra attention to engravings, chain links, or around stone settings where dirt loves to hide.
Expert Tip: Never, ever submerge pieces with porous stones like turquoise, opals, or pearls. For these, just dip your soft brush in the soapy water, carefully clean the silver parts while avoiding the stone, and then wipe everything down with a clean, damp cloth.
Once you’re done scrubbing, rinse the jewelry completely under cool running water. You want to get all that soap residue off. Finally, and this part is crucial, you need to dry it thoroughly. Pat it dry with your microfiber cloth, then give it a good polish to bring back that brilliant gleam. If you let it air dry, you’ll just trade dirt for water spots.
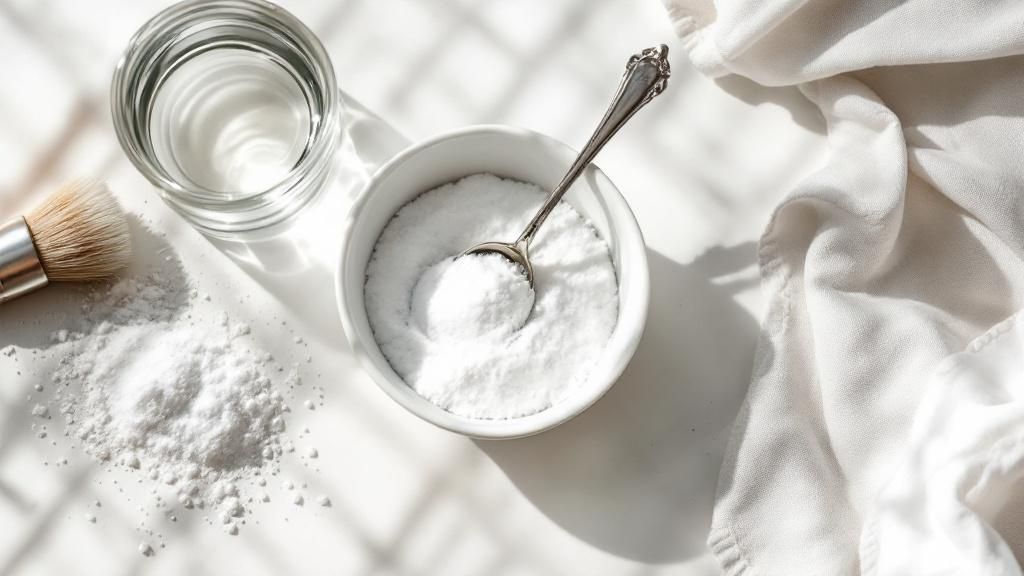
Using Baking Soda and Foil for Heavy Tarnish
When you've got a piece of silver that's moved past lightly tarnished and into the realm of seriously dark and stubborn, the gentle soap-and-water method just won't cut it. This is when you need to bring in the big guns—or in this case, a surprisingly simple chemical reaction you can whip up right in your kitchen.
I'm talking about the classic baking soda and aluminum foil trick. It’s a fantastic way to clean silver jewelry at home because it does the hard work for you, no intense scrubbing required. What you're doing is creating a small electrochemical reaction that literally pulls the tarnish (sulfur) off your silver and onto the foil. It’s like a magic trick, and it works wonders on intricate pieces with lots of nooks and crannies, like detailed chains or filigree work.
Preparing Your Tarnish-Removing Bath
Getting this set up is easy, but you'll want to follow the steps closely to get the best results. You just need a few things you almost certainly already have.
Here's your shopping list (from your own pantry):
A bowl or dish lined with aluminum foil. Make sure the shiny side is up.
Hot water, just off the boil. It needs to be hot enough to dissolve everything and kickstart the reaction.
One tablespoon of baking soda and one tablespoon of salt for every cup of water you use.
First, lay your jewelry in the foil-lined bowl, making sure every piece is physically touching the foil. Then, sprinkle the baking soda and salt mixture over the top. Carefully pour in the hot water and you should see some fizzing right away—that's how you know it's working! Let everything soak for about 5 to 10 minutes.
A Word of Caution: This method is a lifesaver for solid silver, but it's not safe for every piece. Avoid using it on jewelry with soft or porous gemstones like pearls, opals, or turquoise. It will also strip away any intentional "antiqued" or oxidized finishes, so if your piece has dark details that are part of the design, stick to a gentler method.
Once the soaking time is up, carefully fish out the jewelry with a pair of tongs—it will be hot! Now comes the crucial final step: rinsing.

Rinsing thoroughly under cool water gets rid of any leftover baking soda residue. After that, gently pat the piece completely dry with a soft, lint-free cloth. This final buff prevents water spots and really brings out that beautiful, restored shine. For a deeper dive, check out our other guide on how to clean tarnished jewelry easily for more pro tips.
A Word of Caution on Other "Hacks" and Commercial Products
You’ve probably seen other DIY cleaning tricks floating around the internet. Toothpaste and cornstarch paste are two of the most common suggestions, but I'd steer clear of them. They might seem like easy, harmless solutions, but they can do more harm than good in the long run.
Think about toothpaste. It’s designed to scrub tough plaque off your teeth, which means it contains mild abrasives. While you might not notice it right away, those tiny particles will etch microscopic scratches into the surface of your silver. Over time, those little scratches add up, creating a dull, lifeless finish that you can't polish away.
And the cornstarch paste? It’s far less risky, but it’s also not very effective. It might soak up a bit of oil from the surface, but it just doesn't have the chemical oomph to actually break down and remove tarnish.
When to Go Pro with a Commercial Cleaner
This is where a good commercial cleaner really proves its worth. If you're working with a cherished family heirloom, a piece with delicate gemstones, or you simply want a flawless, guaranteed result, it’s time to invest in a product made for the job. These formulas are specifically engineered to dissolve tarnish without harming the metal itself.
The market for these products is surprisingly large. In fact, North America makes up about 30% of the global gold and silver cleaning market, which speaks volumes about how much we care about maintaining our valuables. You can dive deeper into these market trends with this Verified Market Reports analysis.
So, what should you look for when you’re standing in the aisle? Here are a few things I always check for:
A Non-Abrasive Formula: The label should be crystal clear that it's safe for delicate silver and won't scratch. If it doesn't say, I don't buy it.
The Right Tool for the Job: Cleaners come in different forms. A polishing cloth is perfect for quick, light touch-ups, while a liquid dip is what you need for chains or heavily tarnished pieces.
Gemstone Safety: This is a big one. If your jewelry has stones, double-check that the cleaner is safe for them. If you're ever unsure, the safest bet is to carefully apply the cleaner only to the metal using a Q-tip.
If you buy just one thing, make it a high-quality polishing cloth. These are treated with a very fine polishing compound that not only cleans but also leaves behind an anti-tarnish barrier. It’s the single most useful tool for extending the time between deep cleans.
Proactive Care to Keep Your Silver Bright
Knowing how to clean your silver is great, but honestly, the real goal is to have to clean it less often. If you can get ahead of the tarnish, you’ll save yourself a lot of time and elbow grease. It’s all about building good habits with how you store and handle your jewelry.
The main culprit behind tarnish is exposure to air and humidity. Those elements carry sulfur compounds that react with silver and cause that dreaded dark film. Your pretty, open-air jewelry tray on the dresser might look lovely, but it’s doing your silver no favors. The best defense is simply cutting down that contact.
Key Takeaway: The secret to less tarnish is less exposure. Store your silver in a way that shields it from open air and moisture, and you'll dramatically reduce how often you need to perform a deep clean.
Smart Storage Solutions
The most impactful change you can make is upgrading your storage game. This doesn't mean you need to buy a fancy, expensive system.
A few simple but incredibly effective options include:
Airtight bags: This is my go-to trick. Sticking each piece in its own small, sealed plastic bag is cheap, easy, and works wonders to block air exposure.
Anti-tarnish cloths or pouches: These are fantastic. They’re treated with special compounds that literally absorb the airborne pollutants before they can reach your silver.
Felt-lined compartments: The soft felt lining in a quality jewelry box isn't just for show; it actually helps wick away excess moisture.
For a little extra insurance, throw a small silica gel packet into your jewelry box. You know, the kind you find in new shoe boxes? They are absolute champs at absorbing humidity.
If you want to go even deeper on this, we've put together a full guide on how to prevent jewelry from tarnishing with our expert tips. A few simple, proactive steps can keep your silver looking brilliant and always ready to wear.
Answering Your Silver Cleaning Questions
Even when you've got the basics down, cleaning silver isn't always straightforward. Certain pieces and unexpected results can throw you for a loop. Let's tackle some of the most common questions I hear so you can clean any piece of silver jewelry with confidence.
What About Silver-Plated Jewelry?
This is a big one. When you're dealing with silver-plated items, you have to be extremely careful. Remember, that beautiful silver is just a very thin layer over a different base metal. If you scrub too hard or use an aggressive cleaner, you can easily wear that plating right off.
My rule of thumb for silver-plated jewelry? Stick to the mild soap and water method. That popular baking soda and foil trick is way too harsh for plating and will likely ruin your piece.
A gentle hand and a soft cloth are your best friends here. It's all about preserving that delicate finish.
How Do I Clean Silver with Delicate Stones?
Now, what if your silver necklace has pearls, or you've got a beautiful ring with turquoise or an opal? These stones are a different story entirely because they're soft and porous.
Avoid soaking at all costs. Never, ever submerge pieces with these kinds of stones. They're incredibly sensitive to moisture and chemicals, and a long soak can cause irreversible damage like cloudiness or cracking.
Precision is key. Your best bet is to spot-clean. I use a soft cloth, maybe even a Q-tip, with just a touch of soapy water to carefully wipe down the silver, making sure to avoid the stone itself.
Rinse and dry right away. Once the metal is clean, take a separate, clean, damp cloth and wipe away any soap. Then, immediately pat the whole piece dry with a soft, absorbent towel. Don't let water sit on it.
Help! My Silver Turned Yellow After Cleaning!
Don't panic! This sometimes happens, especially after using the baking soda and aluminum foil method. A slight yellow tint usually means one thing: the water wasn't quite hot enough. The chemical reaction that removes the tarnish just didn't fully complete.
The fix is pretty simple. Just repeat the process with a fresh batch of everything—new foil, new baking soda—and make sure your water is very hot this time (just shy of boiling). Also, double-check that every part of the silver is touching the aluminum foil. This almost always clears up the yellowing and leaves you with that brilliant white shine you were hoping for.
For stunning, high-quality pieces that you'll cherish for years, explore the curated collections at Panther De Luxe Shop. Find your next favorite accessory at https://www.pantherdeluxe.com.
Comments